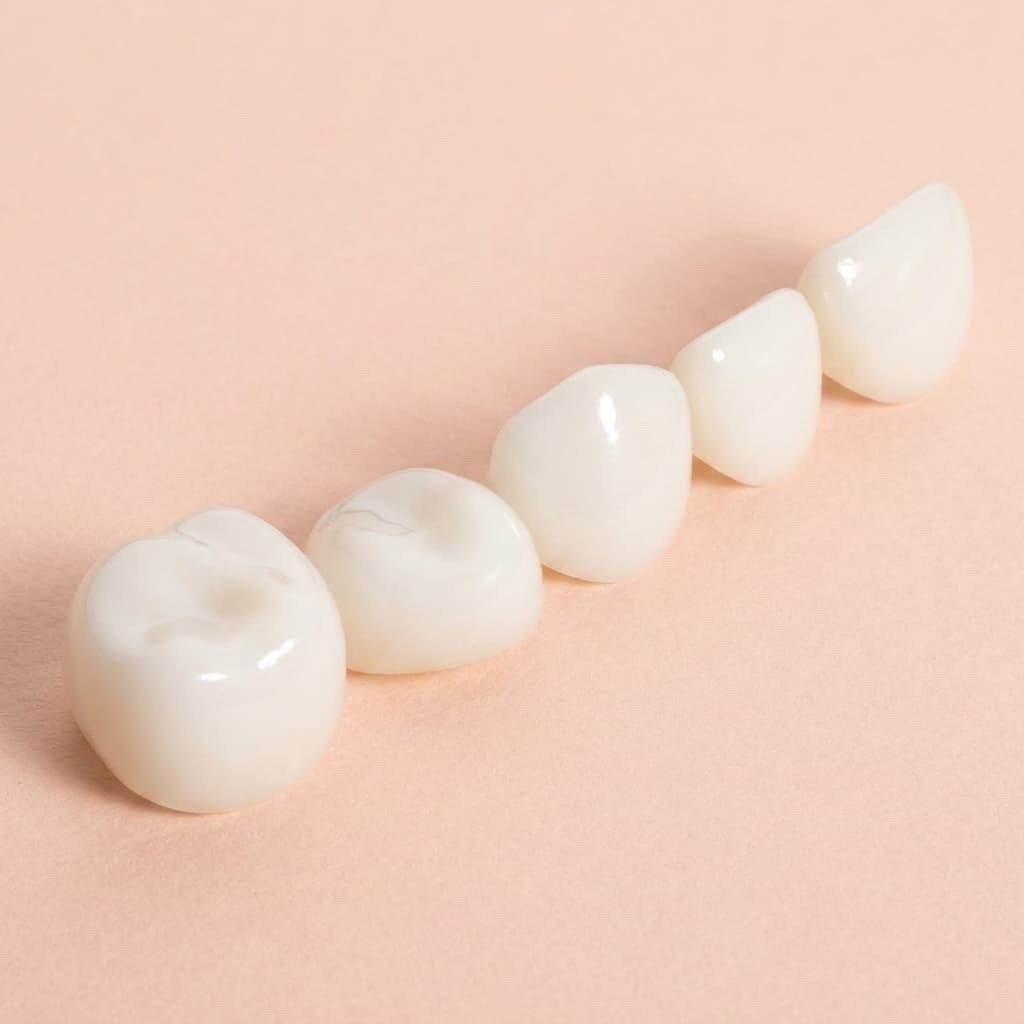


Pediatric Zirconia Crown Sizing: Choosing the Right Size and Fit for Every Tooth
How to size pediatric zirconia crowns: select before you prep, where to start, passive seating, try-in crowns, and when to use Standard, Slim or Mini fit.
By the KTR Crowns team · · 8 min read
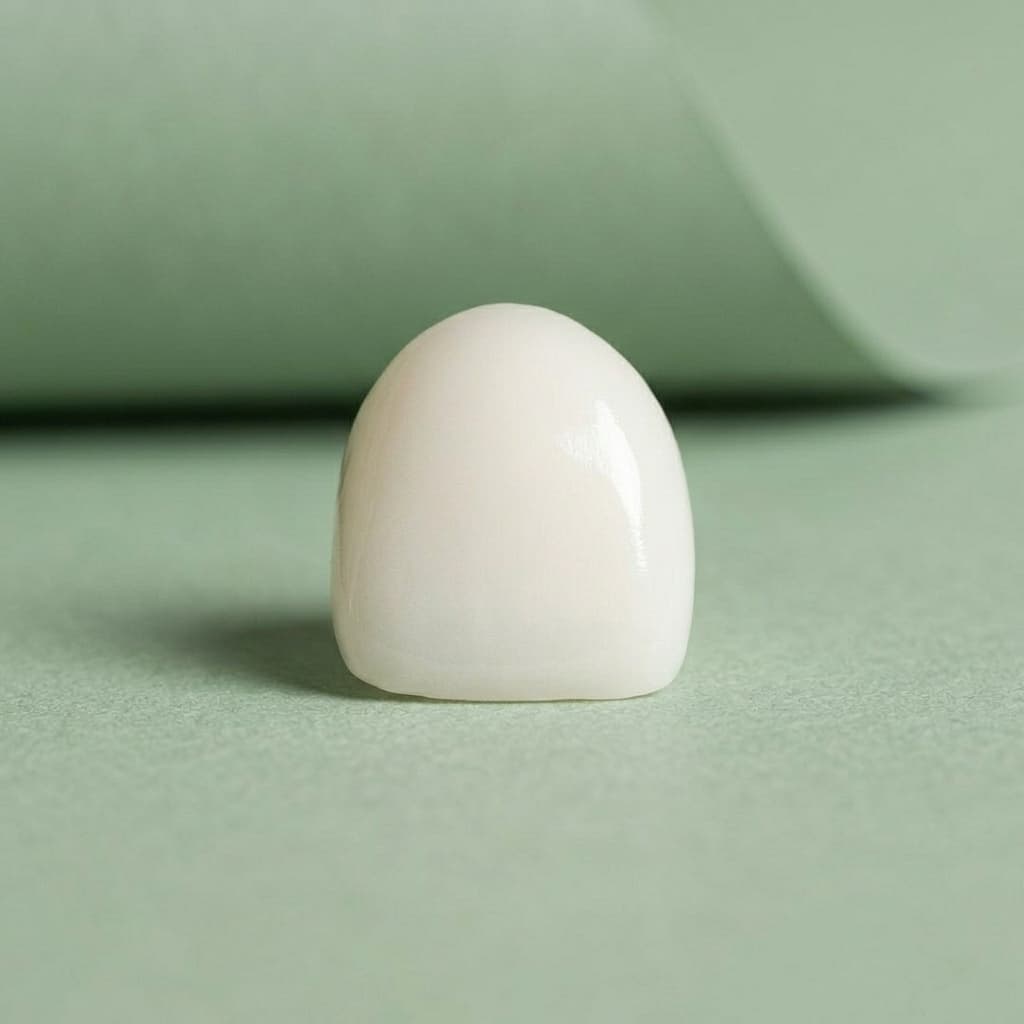
With a stainless steel crown, a size that is slightly off can often be rescued with trimming and crimping. Zirconia gives you no such room. The crown cannot be bent, cut back or crimped, so size selection and preparation have to agree with each other. Most zirconia frustrations chairside, from crowns that will not seat to crowns that look oversized next to the adjacent tooth, trace back to this step.
Sizing a zirconia crown really means choosing two things: the size (the overall scale of the crown) and the fit profile (its proportions). This guide covers both, in the order they come up chairside.
Select the crown before you prepare the tooth
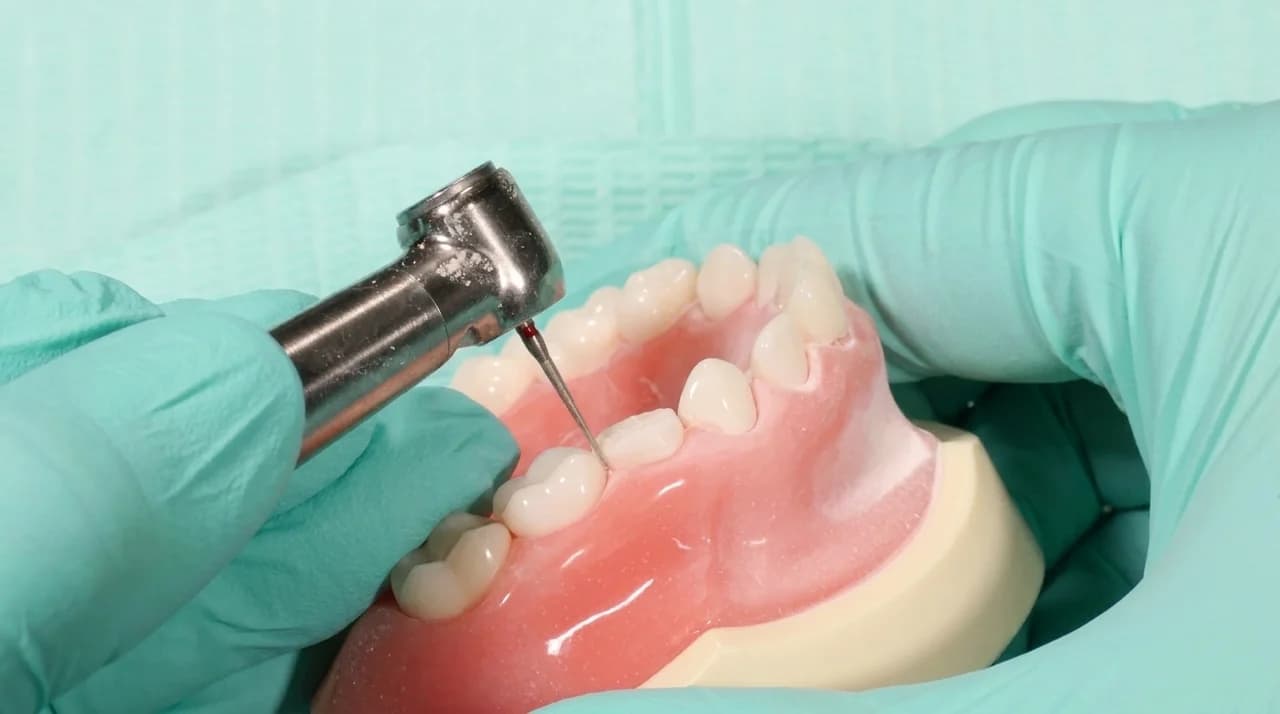
This is the single most useful habit in zirconia work. Choose the crown while the tooth is still intact, then prepare the tooth to that crown. The selected crown becomes your reference for how much structure to remove.
- Hold candidate sizes against the unprepped tooth and compare mesiodistal width, crown height, shape and contour.
- Step up or down a size until one clearly matches the original tooth better than its neighbors.
- For anterior segments, look at the adjacent and contralateral teeth as well. The crown should match the arch, not just the tooth being restored.
- Set the selected crown aside for try-in once the preparation is finished.
If you prepare first and size afterward, the natural tendency is to reach for a smaller crown to match the smaller prepared tooth. That leads to crowns that look undersized, open contacts, and in the worst case, more reduction than the tooth needed.
Size ranges for each tooth position
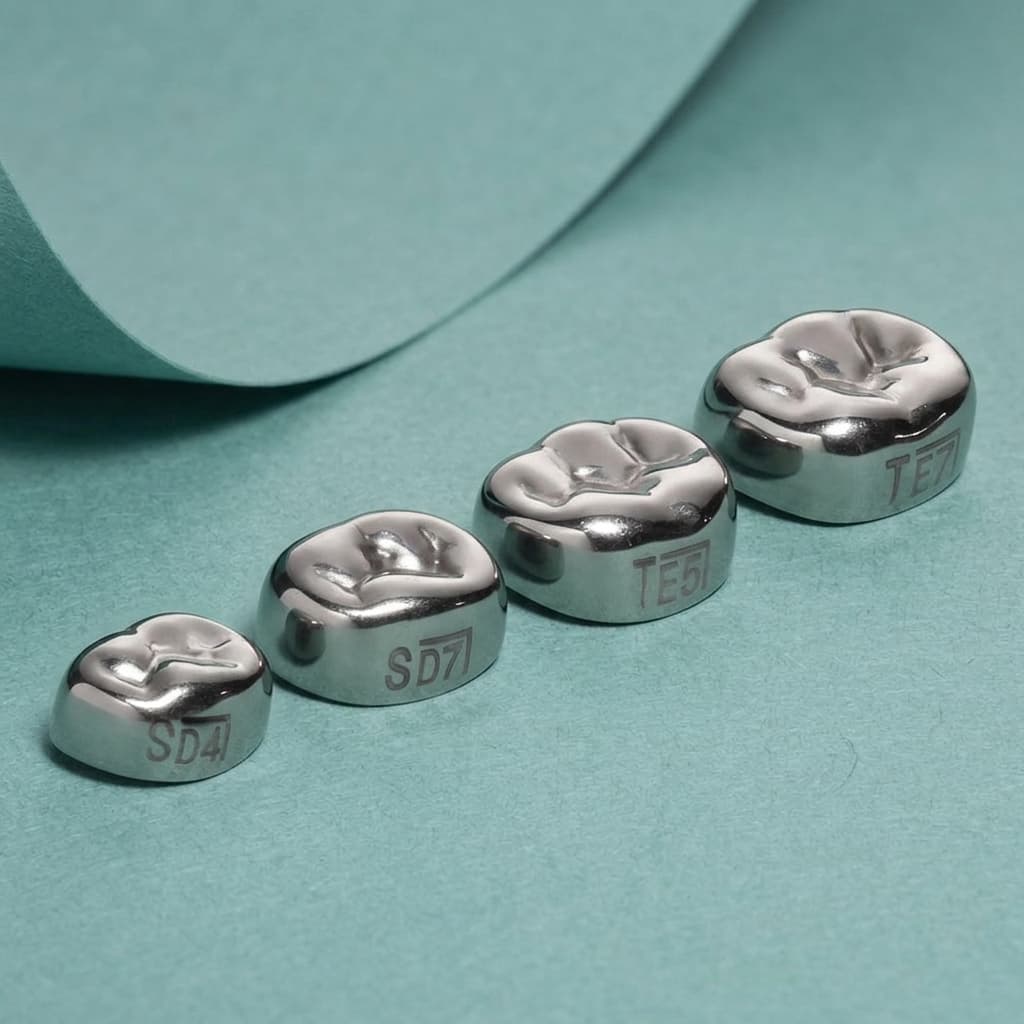
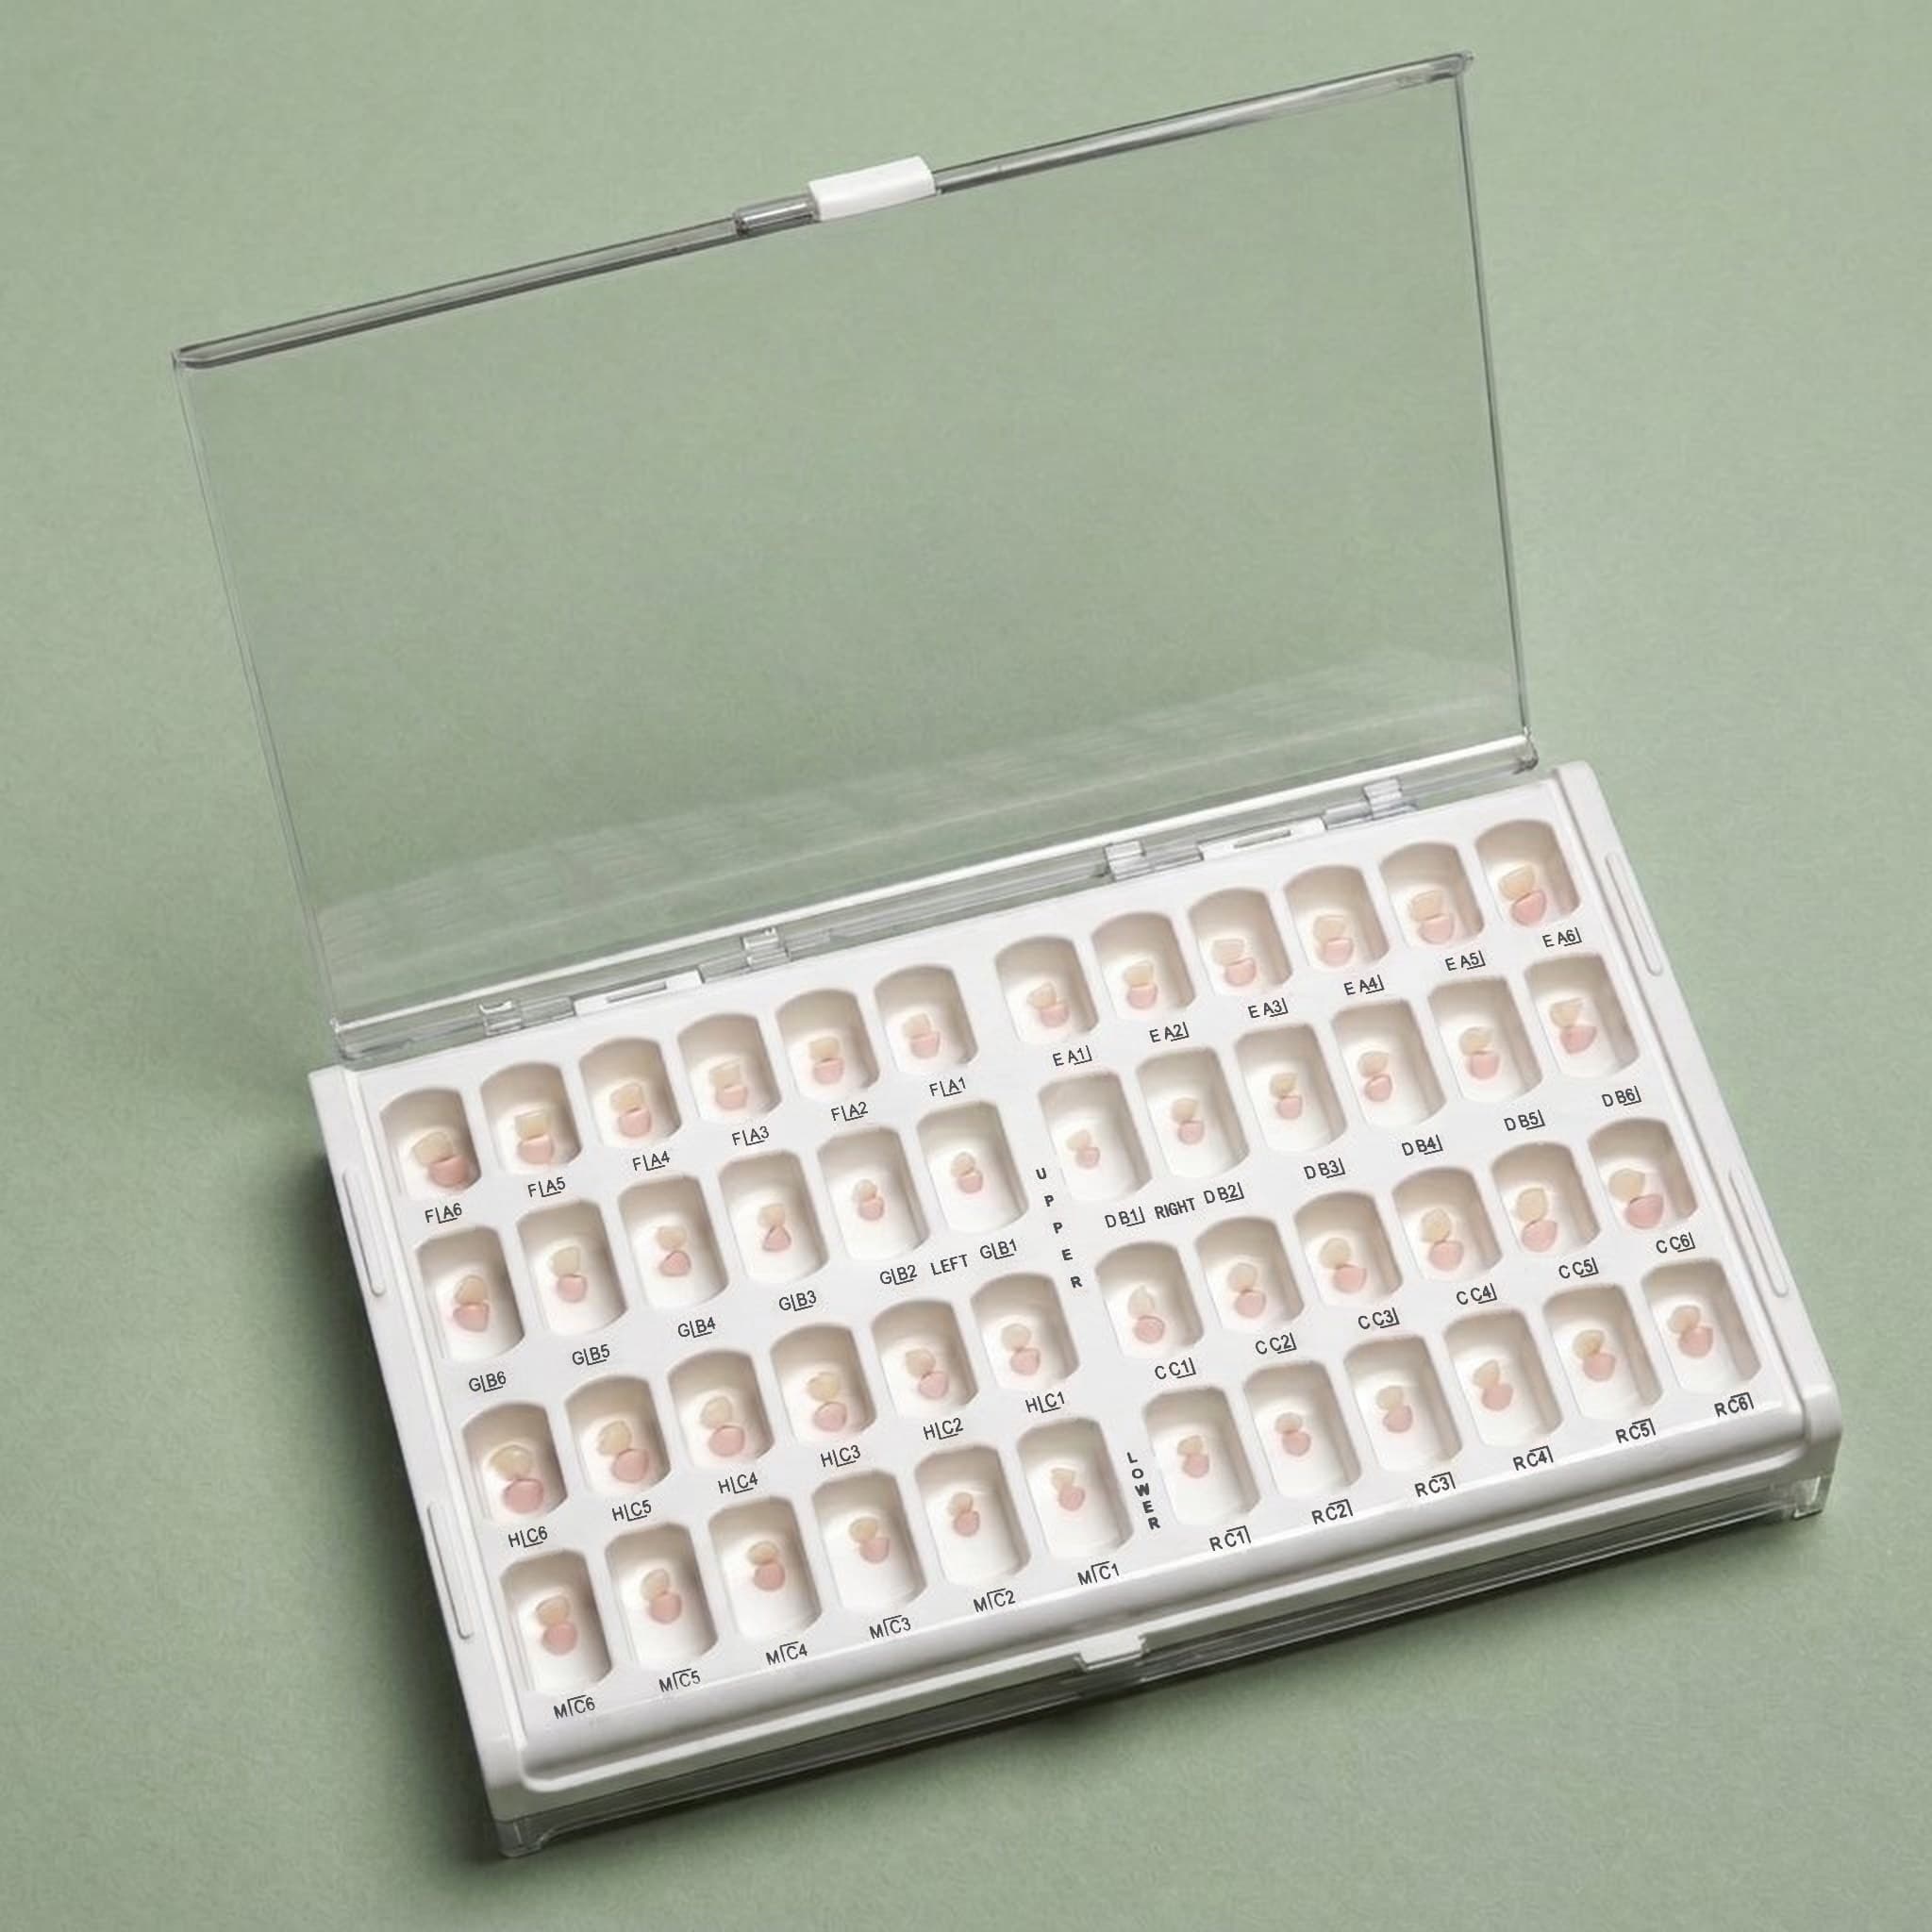
KTR zirconia crowns use a consistent numbering system across positions, with a size range that covers the natural variation in primary teeth.
| Tooth group | Positions | Sizes |
|---|---|---|
| Upper incisors | Centrals and laterals (D, E, F, G) | 1 to 6 |
| Lower incisors | Universal lower (N, O, P, Q) | 1 to 6 |
| Cuspids | Upper and lower (C, H, M, R) | 1 to 6 |
| Molars | First and second primary molars (A, B, I, J, K, L, S, T) | 2 to 7 |
A practical starting point when you are unsure: begin with the second-smallest size for that tooth and work up if the crown does not fully seat. Starting small and stepping up tends to avoid over-contoured crowns, which are harder on the gingiva and stand out in the smile. The full chart lives on the KTR sizing guide.
The three fit profiles: Standard, Slim and Mini
Primary teeth vary in proportion as well as size. Decay, space loss and wear change the space a crown has to fill, and a single set of proportions cannot match every case. That is why each KTR zirconia position comes in three fit profiles.
| Fit profile | How it differs | Typical cases |
|---|---|---|
| Standard-Fit | Standard mesiodistal width and occlusal-cervical height | Most teeth with normal proportions and intact space |
| Slim Fit | Mesiodistal width 1mm narrower than Standard | Space loss from proximal decay, crowding, drifting of adjacent teeth |
| Mini-Fit | Occlusal-cervical height 1mm shorter than Standard | Short clinical crowns, wear, limited clearance to the opposing tooth |
Because the change is a single dimension, a profile switch keeps everything else about the crown the same. You are adjusting the crown to the space instead of taking more tooth structure to make a Standard crown fit.
Standard-Fit
Start here for most teeth. If the unprepped tooth has normal proportions, its contacts are intact and there is normal clearance to the opposing arch, Standard-Fit in the matching size is usually the crown you place.
Slim Fit
Reach for Slim when the size that matches the tooth's height and contour is too wide for the space. This is common on molars with long-standing proximal lesions, where the neighbors have drifted in, and in crowded anterior segments. Without a narrower option, the choices are to drop a full size (and end up with a crown that is too short and small) or to cut more interproximal structure from the tooth and its neighbor. Slim avoids both.
Mini-Fit
Reach for Mini when the size that fills the space mesiodistally sits high in occlusion even after adequate occlusal reduction. Short clinical crowns, worn teeth and cases with limited clearance to the opposing tooth are the typical signs. Taking extra occlusal reduction on a primary molar brings you closer to large pulp horns; a crown that is 1mm shorter is the more conservative answer.
Sizing by tooth group
The principles are the same everywhere in the mouth, but each tooth group has its own reference points.
Upper incisors
Esthetics lead. Match the crown to the contralateral tooth, not just to the tooth in front of you, because a crown one size too large reads immediately in a smile. When restoring all four upper incisors, size the centrals first, then the laterals to them, so the segment keeps its natural proportions. Where decay has destroyed most of the crown, the contralateral tooth or the space itself becomes the reference.
Lower incisors and cuspids
Lower incisors are small and often crowded, which makes Slim Fit useful more often than on the upper arch. Cuspids have a prominent labial bulge and guide lateral excursions, so check both the labial contour and the clearance in excursive movements at try-in, not just in centric.
Primary molars
Mesiodistal width drives molar sizing. Measure the tooth or the space, pick the matching size, then check height against the opposing arch. Second primary molars carry the most occlusal load and are often the teeth where a short clinical crown pushes you toward Mini-Fit. First molars, with their pronounced buccal cervical bulge, need the most attention to removing undercut during prep so the chosen size can seat.
What a correct fit looks and feels like
A properly sized zirconia crown on a properly prepared tooth seats with light, passive fingertip pressure. It drops into place and stays aligned. If you find yourself pushing, rocking or tapping the crown on, stop. Either the crown is the wrong size or the prep still has a ledge or undercut.
- Anteriors: the incisal edge lines up with the adjacent tooth, and the crown matches its size, shape and contour.
- Molars: margins sit just below the gingival crest, marginal ridges line up with the neighbors, and proximal contacts are present without binding.
- All positions: no blanching of the tissue from a crown forced past a ledge, and no visible gap at the margin.
Use try-in crowns, not the final crown
Every try-in with the final crown exposes its interior to blood and saliva. That contamination has to be cleaned out before cementation, and moisture or hemorrhage left inside a zirconia crown can show through as staining once it is cemented.
KTR zirconia kits include colored try-in crowns in all three fit profiles. They are zirconia, autoclave-ready and reusable, and because they are colored they never get mixed up with the crowns you place. Size and seat with the try-in, confirm the profile, then open the matching final crown once, at cementation.
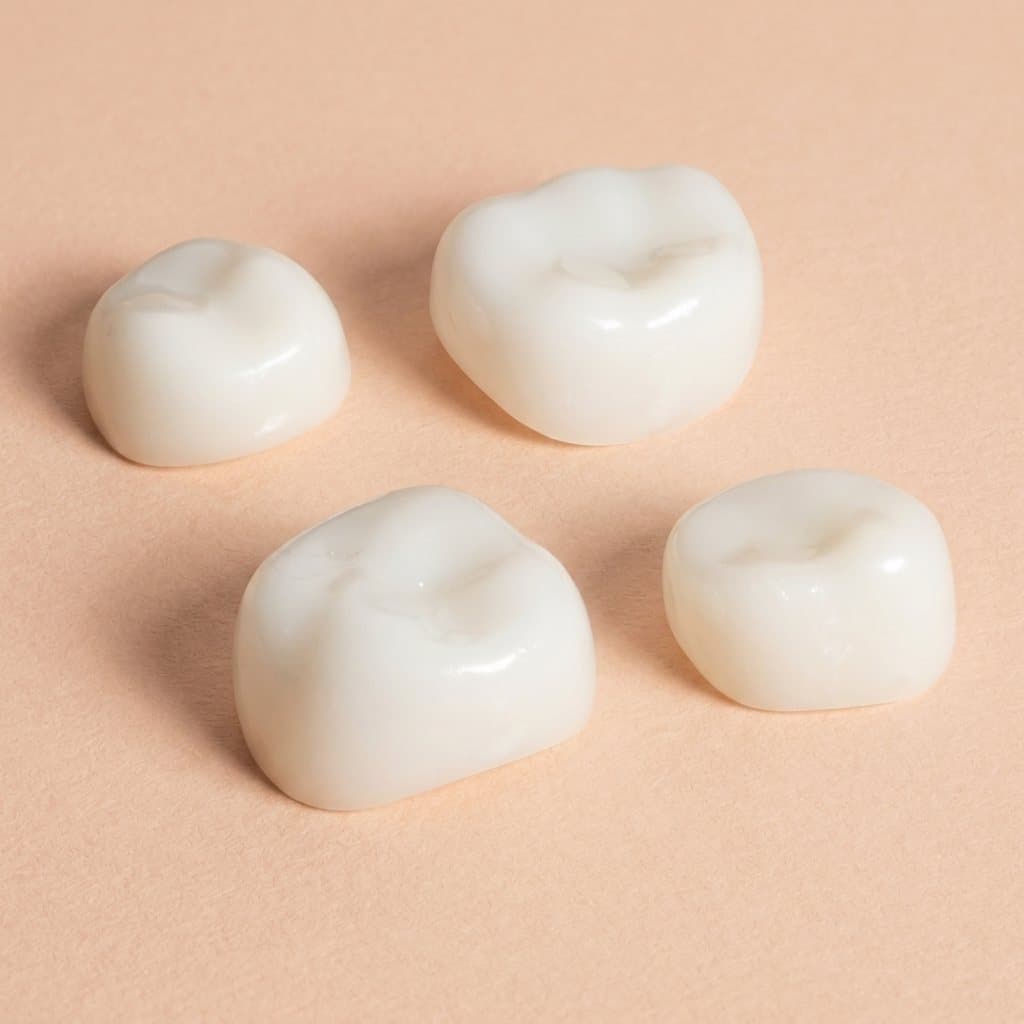
Try-in crowns in every profile
Zirconia Starter Kits
Troubleshooting size and profile choices
| What you see at try-in | Likely fix |
|---|---|
| Crown looks right in every dimension but will not drop in | Check the prep for ledges and undercuts before changing size |
| Crown fits the space but sits high after adequate reduction | Same size in Mini-Fit |
| Correct height but too wide for the space | Same size in Slim Fit |
| Crown is visibly larger or smaller than the contralateral tooth | One size up or down in the same profile |
| Open contacts on both sides | One size up; recheck that you did not over-reduce proximally |
If a crown still refuses to seat after this, work through the causes in why a pediatric zirconia crown won't seat. It is almost always the prep, and usually a small ledge at the margin.
Keep the sizes on either side of your pick ready
Chair time with a young patient is precious. Before the appointment, pull the crown you expect to use along with one size up and one size down, plus the Slim or Mini version if the tooth suggests you may need it. If the first try-in is not right, the next option is already on the tray.
Once you know which sizes and profiles you use most, restock them individually rather than buying whole kits again. KTR zirconia refills are ordered by tooth, size and fit profile with no minimums.
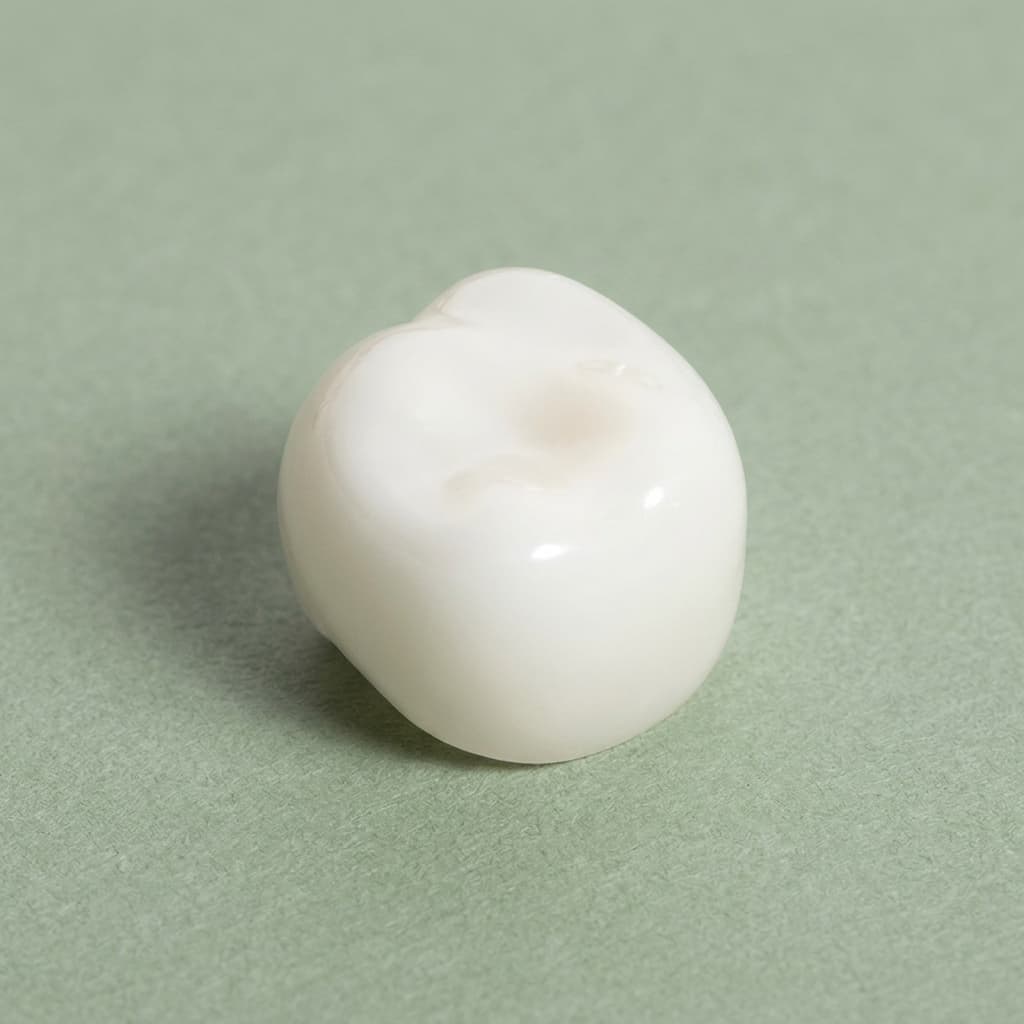
Order by tooth, size and profile
Zirconia Crown Refills
Sizing checklist
- Select the crown against the unprepped tooth and its neighbors.
- If unsure, start with the second-smallest size and work up.
- Note whether space loss or short crown height points to Slim or Mini.
- Prepare to the selected crown, following the anterior or posterior protocol.
- Try in with the colored try-in crown, not the final crown.
- Confirm passive seating with light fingertip pressure.
- If one dimension is off, change profile; if all are off, change size.
- Clean and dry the field, then follow a careful cementation protocol.
Frequently asked questions
Should I size a zirconia crown before or after preparing the tooth?
Before. Select the crown against the unprepped tooth and its neighbors, then prepare the tooth to fit that crown. Sizing after the prep tends to lead to undersized crowns and unnecessary reduction.
Which size should I try first?
Compare sizes against the original tooth first. If you are still unsure, start with the second-smallest size for that position and step up until the crown seats fully and matches the adjacent teeth.
What sizes do KTR zirconia crowns come in?
Upper incisors, lower incisors and cuspids come in sizes 1 to 6. Primary first and second molars come in sizes 2 to 7. Each position is available in Standard, Slim and Mini fit profiles.
What is the difference between Slim Fit and Mini-Fit zirconia crowns?
Slim Fit is 1mm narrower mesiodistally than Standard, for teeth that have lost space. Mini-Fit is 1mm shorter occlusal-cervically than Standard, for short clinical crowns or limited occlusal clearance. Everything else about the crown stays the same.
Why use a try-in crown instead of the final crown?
Trying in the final crown contaminates its interior with blood and saliva, which must be removed before cementation and can cause staining if any remains. Colored try-in crowns are reusable and autoclave-ready, so the final crown is opened only once, at cementation.
This article is general information for dental professionals. It does not replace clinical judgment, the product's instructions for use, or current AAPD guidance. Questions about a specific case? Call us at 1-800-506-5108.
Have a technique or case worth sharing?
We publish guest articles by pediatric dentists, residents and educators. Pitch an idea and write for colleagues.