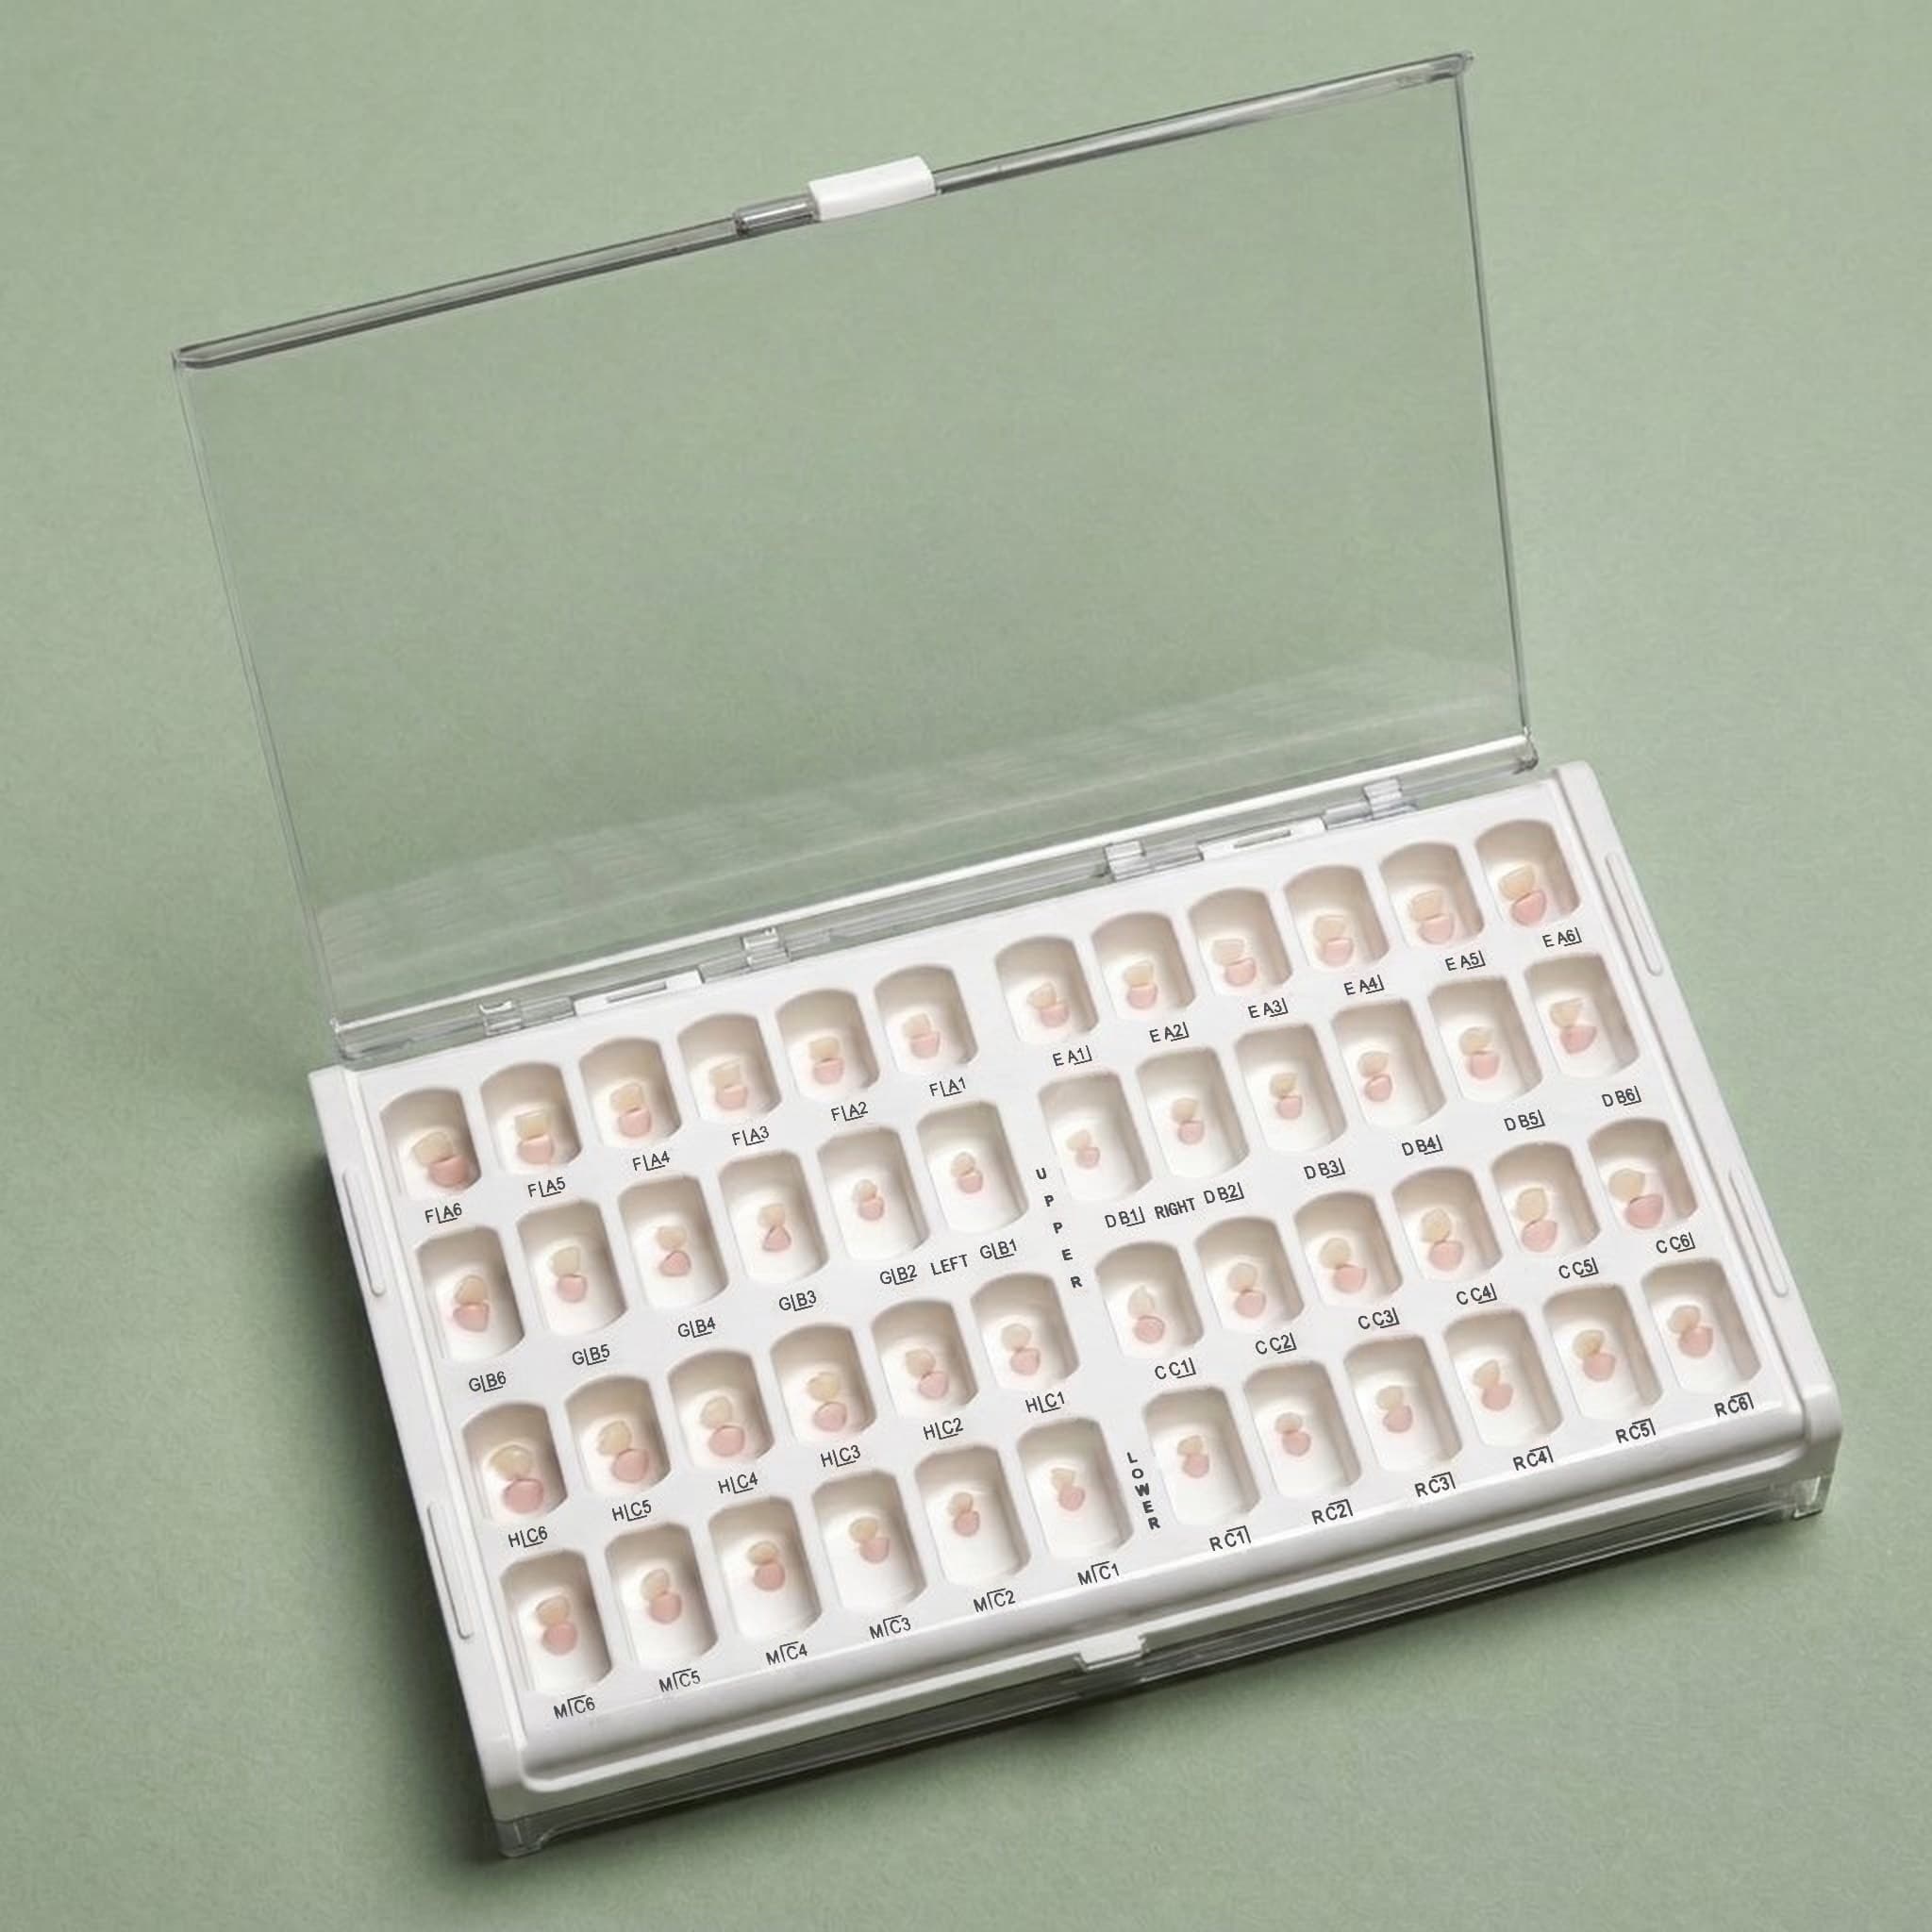
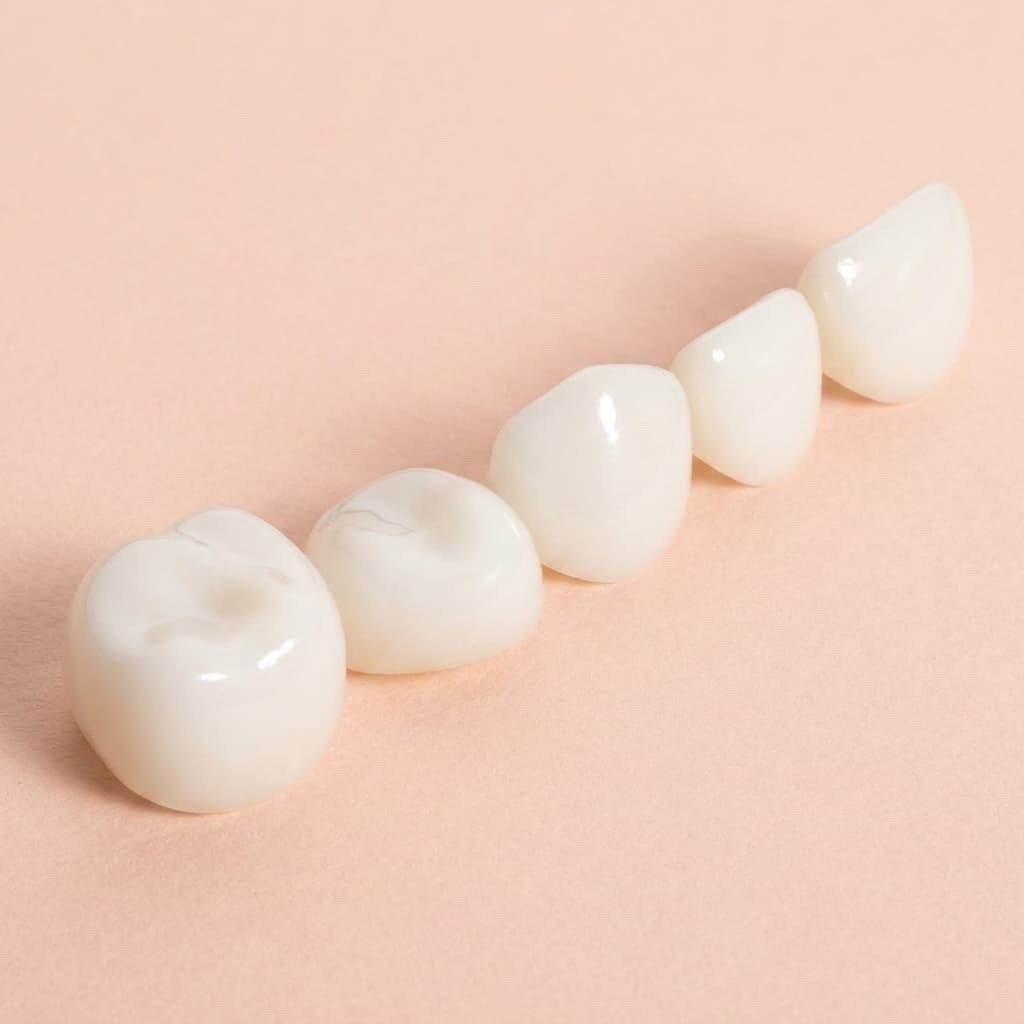


Molar crown preparation for primary 1st and 2nd molars
|~19 min7 steps0/7 completedPreparation
Photo for this step is coming soon.
- 1.Evaluate remaining tooth structure and caries extent.
- 2.Use the KTR sizing guide or try-on crown to pre-select molar size (sizes 2-7).
- 3.Administer appropriate local anesthesia and wait for full effect.
- 4.Place rubber dam or alternative isolation.
Tips
Molar crowns cover positions DUL, DUR, DLL, DLR (1st molars) and EUL, EUR, ELL, ELR (2nd molars).
Measure mesiodistal width of the tooth to guide size selection.
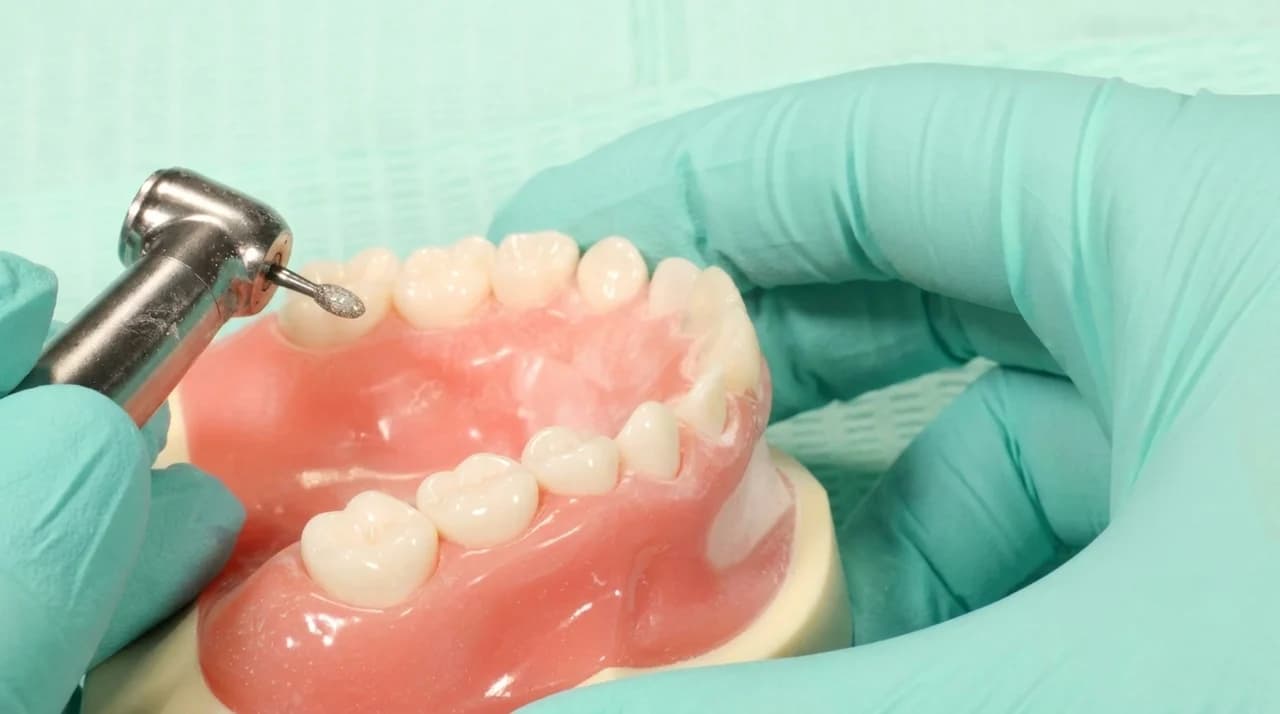
- 1.Use a coarse football-shaped diamond bur.
- 2.Reduce 1.0-1.5mm following the natural cusp-fossa anatomy.
- 3.Maintain the general outline of cusps and grooves.
- 4.Check reduction depth with a ball burnisher or depth-cutting bur.
Tips
KTR posterior crowns are designed with ideal occlusal thickness for wear resistance.
Caution
Primary molars have large pulp chambers. Use depth guides to avoid pulp exposure.
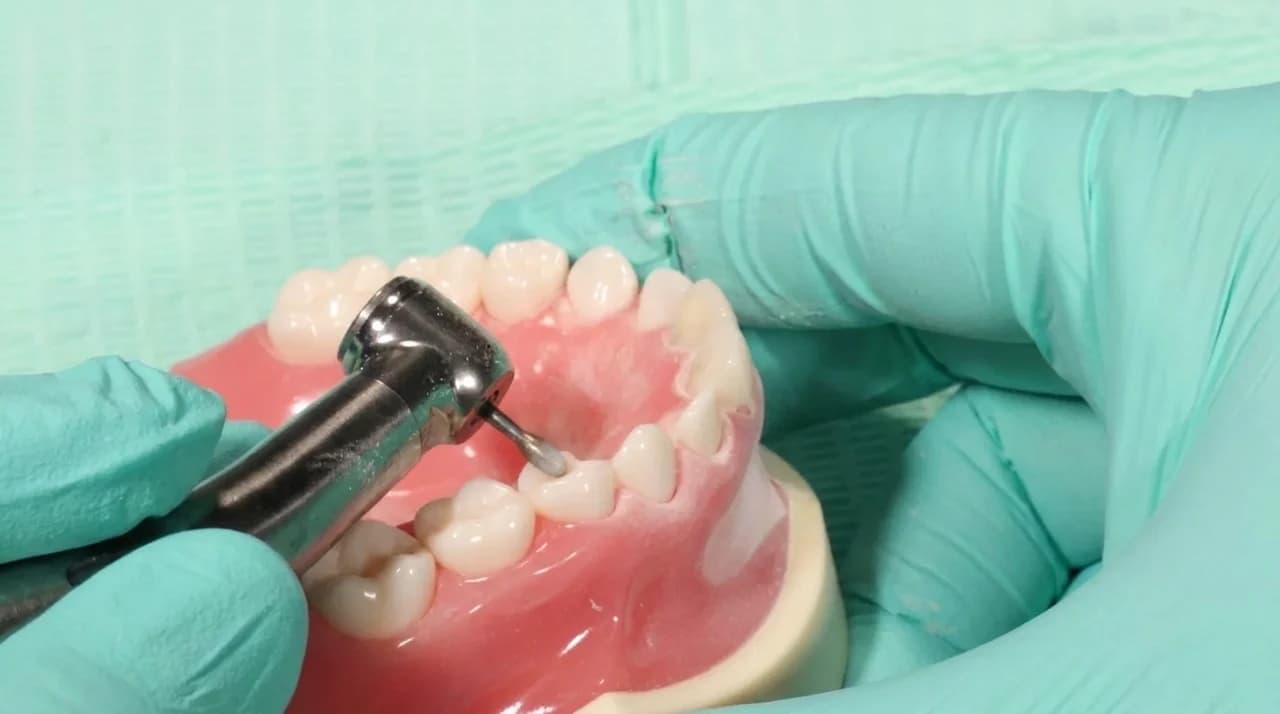
- 1.Use a thin tapered diamond bur to slice through mesial and distal contacts.
- 2.Create a feather-edge or knife-edge margin circumferentially.
- 3.Eliminate all undercuts on the axial walls.
- 4.Maintain a slight taper (2-6 degrees) for passive crown seating.
Caution
Protect adjacent teeth with a metal matrix band during proximal reduction.
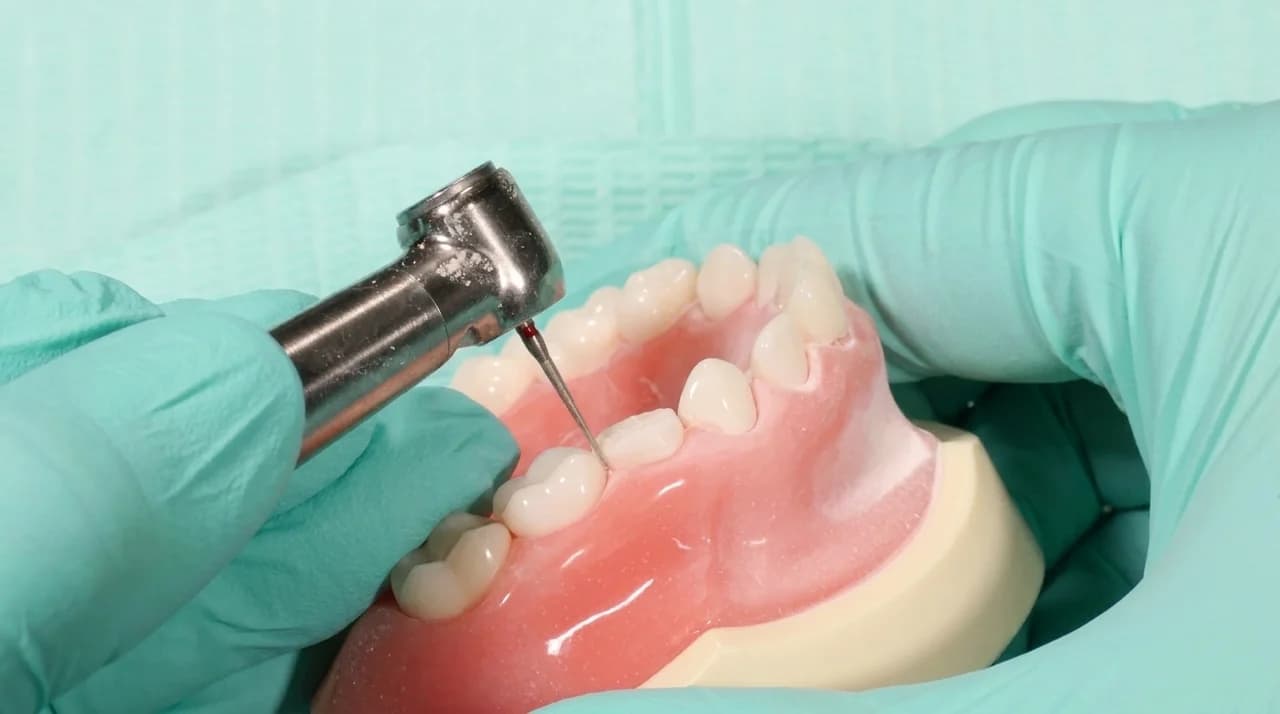
- 1.Reduce buccal and lingual surfaces by approximately 0.5-1.0mm.
- 2.Follow the natural contour and bulge of the tooth.
- 3.Create a smooth, continuous gingival margin.
- 4.Round all line angles to prevent stress concentration on the zirconia.
Fitting
Photo for this step is coming soon.
- 1.Select the crown based on mesiodistal width measurement.
- 2.The crown should seat passively without excessive force.
- 3.Margins should extend just below the gingival crest.
- 4.Verify mesial and distal proximal contacts.
- 5.Check occlusal clearance with articulating paper.
Tips
Standard, Slim, and Mini fit profiles are available for each molar position.
The malleable gingival margins allow snap-fit placement over natural undercuts.
Cementation
Photo for this step is coming soon.
- 1.Clean the preparation with pumice and dry thoroughly.
- 2.Apply biocompatible resin-modified glass ionomer or dual-cure resin cement.
- 3.Fill the crown approximately 2/3 with cement.
- 4.Seat with firm pressure on the occlusal surface.
- 5.Hold in place for the recommended set time.
Tips
Retention grooves inside each KTR crown are designed to enhance bond retention.
Caution
Ensure complete isolation during cementation for best bond strength.
Finishing
Photo for this step is coming soon.
- 1.Remove excess cement with an explorer or scaler before fully set.
- 2.Floss interproximal areas to clear excess cement.
- 3.Check occlusion with articulating paper and adjust if needed.
- 4.Verify gingival margins are sealed and smooth.
- 5.Take a post-operative radiograph to confirm fit and cement seal.
Tips
Laser-etched markings on each crown allow easy identification at follow-up visits.