

Cementing Pediatric Zirconia Crowns: GI vs. RMGI and a Step-by-Step Protocol
Which cement to use for pediatric zirconia crowns, GI or RMGI, and a step-by-step cementation protocol: hemostasis, loading, seating and excess cleanup.
By the KTR Crowns team · · 6 min read
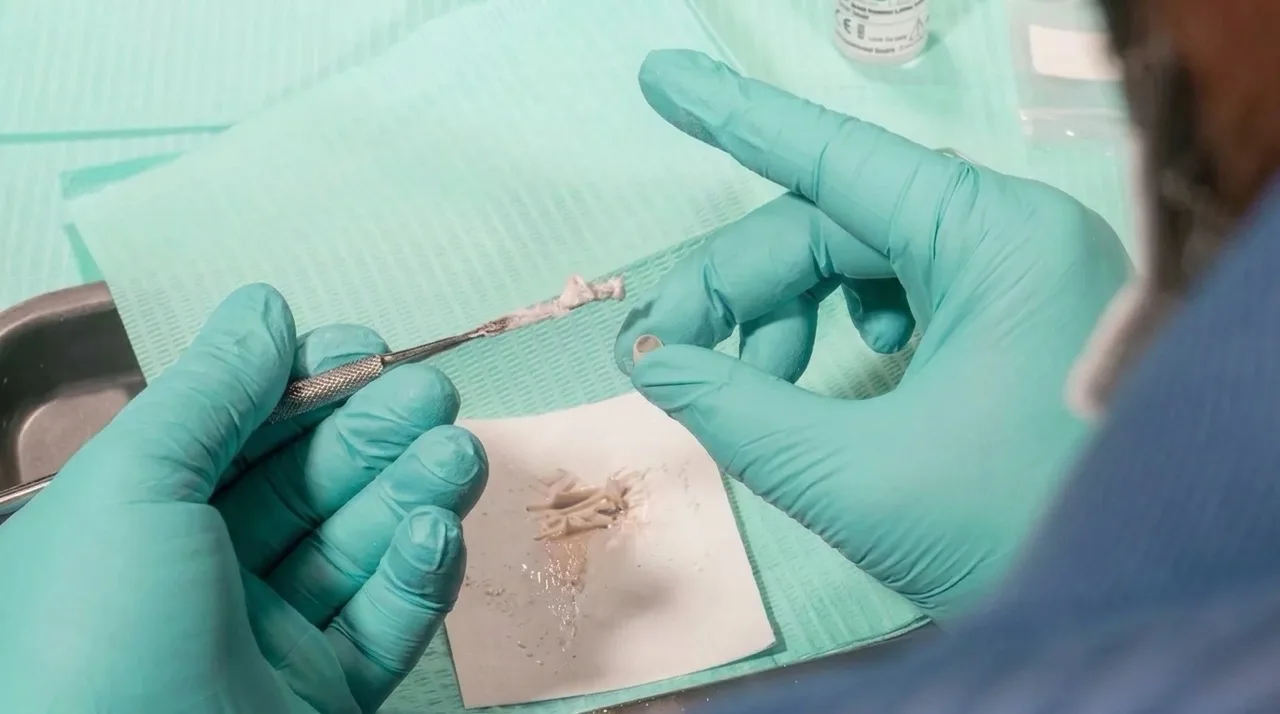
Cementation is the shortest step in a pediatric zirconia crown appointment and the one with the least room for error. The prep is done, the crown fits, and the child's patience is running low. A predictable routine for the last three minutes protects all the work that came before.
This article covers which cement to choose and the sequence we recommend for KTR zirconia crowns, from hemostasis to the final occlusion check.
What cement should you use for pediatric zirconia crowns?
Pediatric zirconia crowns are generally cemented with glass ionomer (GI) or resin-modified glass ionomer (RMGI) cement. KTR zirconia crowns are designed for both. Retention comes mostly from the passive, close fit of a well-prepared tooth, not from an adhesive bond to the zirconia, so the cement's job is to fill the space evenly, seal the margin and tolerate the realities of a pediatric field.
| Glass ionomer (GI) | Resin-modified glass ionomer (RMGI) | |
|---|---|---|
| Moisture tolerance | Good; forgiving in a field that is hard to keep perfectly dry | Good, though best results come with a well-controlled field |
| Working and setting | Self-cure; hand-mixed to a thick consistency | Self-cure with light-cure option on many products; faster set on command |
| Excess cleanup | Easy to remove when mixed thick | Tack-cure or gel stage makes removal simple; watch for set excess in sulcus |
| Fluoride release | Yes | Yes |
| Typical use | Anteriors and molars, especially when isolation is limited | Molars and cases where a quicker set helps a short appointment |
Many pediatric dentists use a pure GI for anteriors, mixed to a thick, almost putty-like consistency. That thick mix helps hold the crown in the correct position while it sets and keeps moisture and hemorrhage from re-entering the crown. RMGI is a common choice for molars where a faster, more controlled set is useful. Either works well if the field and the fit are right.
Before you mix: fit and hemostasis
Cement cannot fix a crown that does not seat. Confirm passive fit with a try-in crown first, with the incisal edge or marginal ridges lined up with the adjacent teeth. If there is any resistance, go back to why a zirconia crown won't seat before you mix anything.
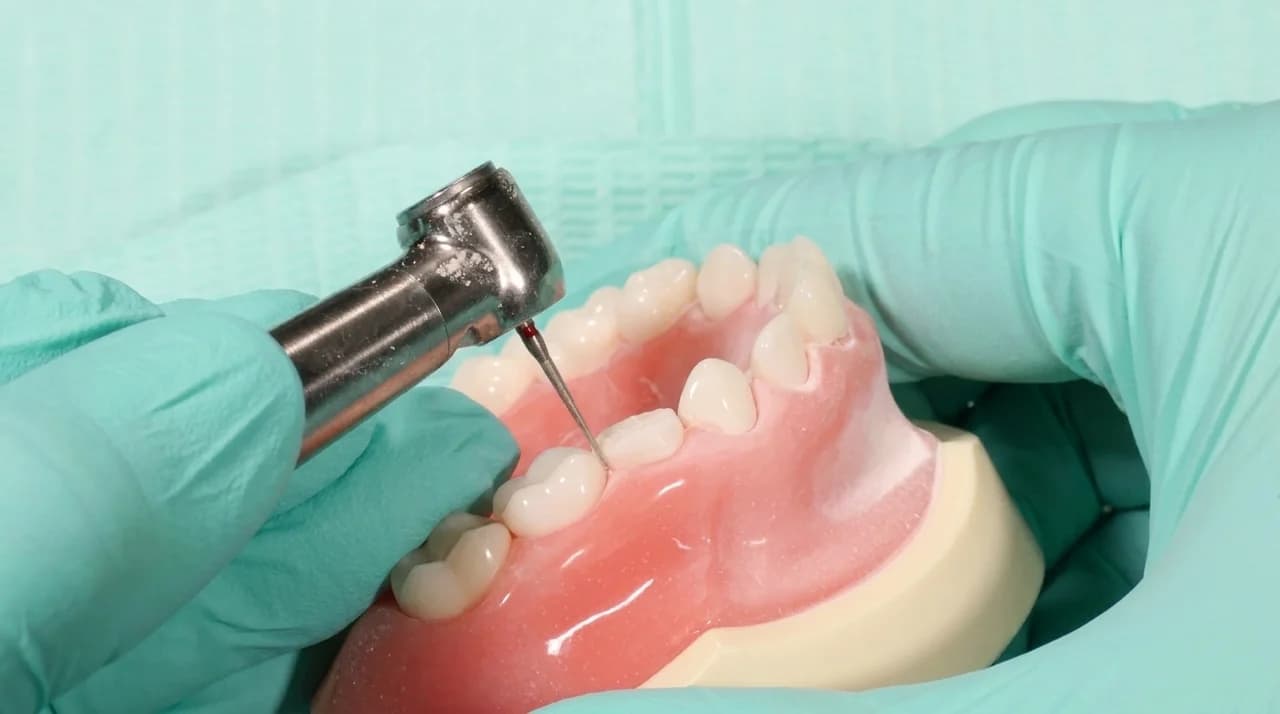
Then control bleeding. The subgingival margin is the usual source. Blood trapped in a zirconia crown acts as a cushion that keeps the crown from seating, weakens the cement seal, and can show through as staining once the crown is cemented. Prep technique helps here: a round or chamfer diamond at the margin lets the tissue roll away rather than tear.
Keep the final crown clean
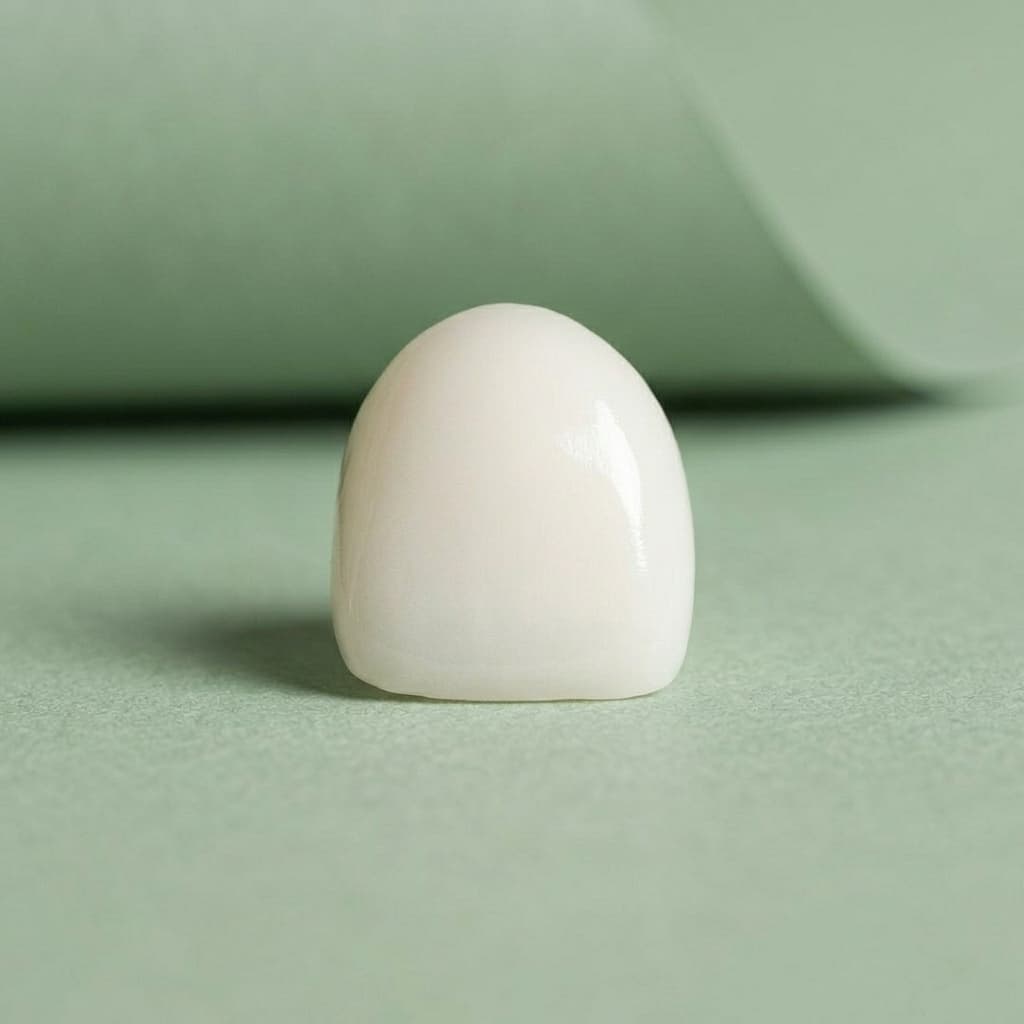
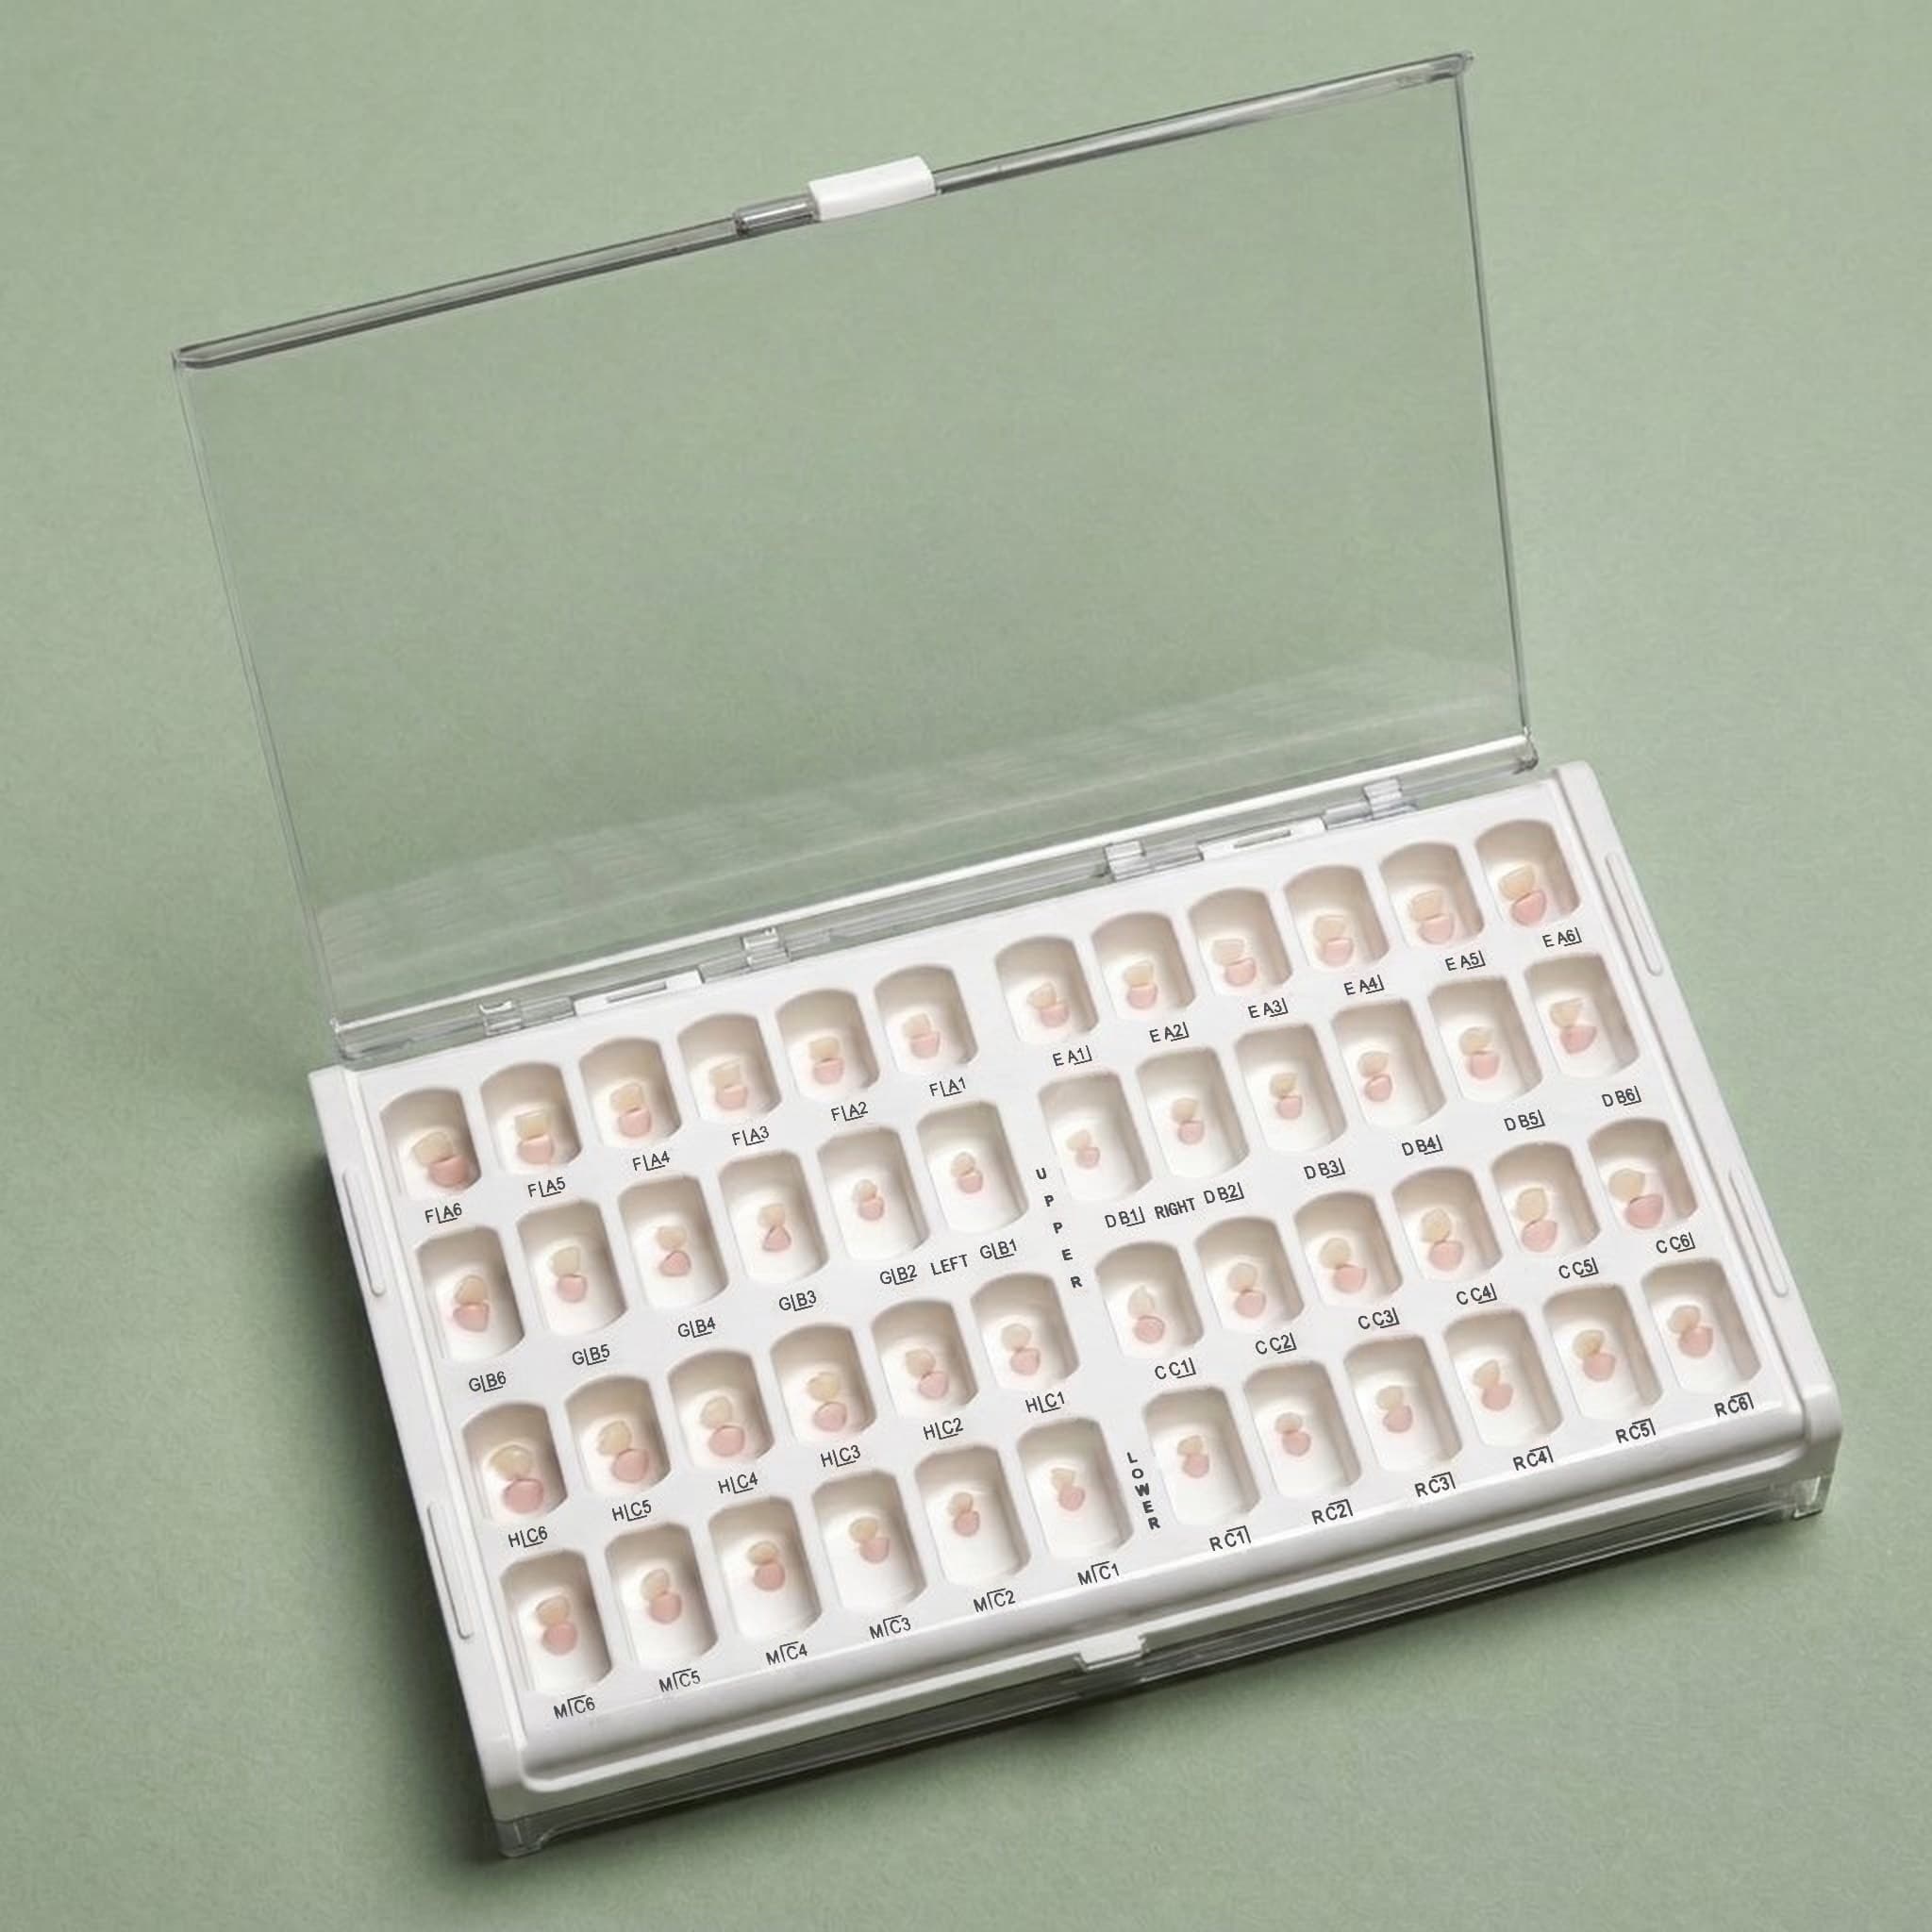
The interior of the crown you cement should be clean and dry. Every try-in with the final crown puts blood and saliva inside it, which then has to be cleaned out thoroughly. KTR zirconia kits include colored try-in crowns in each fit profile. They are autoclave-ready and reusable, so fitting happens with the try-in and the final crown is opened only once, at cementation.
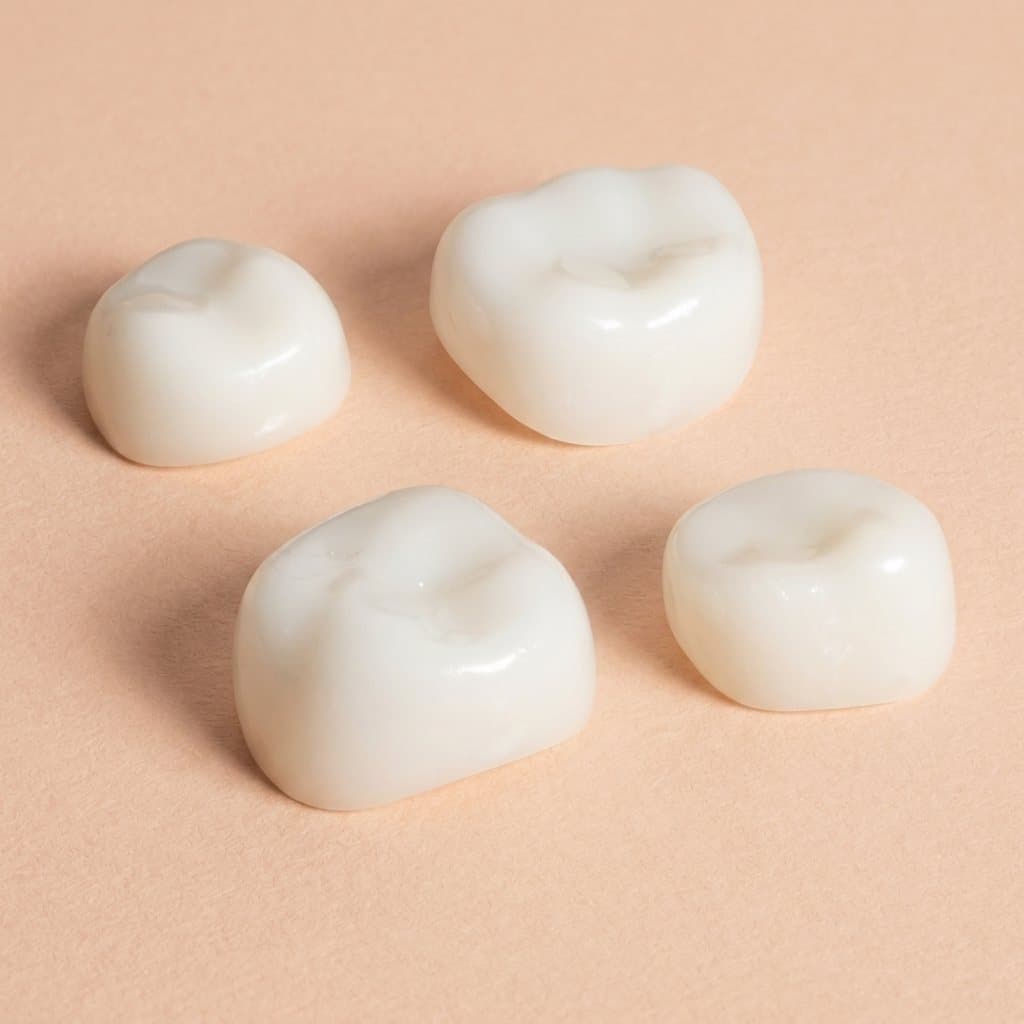
Colored try-in crowns included
Zirconia Starter Kits
Step-by-step cementation protocol
- Confirm fit with the try-in crown in the correct size and profile. Check the laser-etched marking on the final crown matches.
- Achieve hemostasis at the margin and isolate as well as the case allows.
- Clean and dry the preparation. Pumice on molars; rinse and dry thoroughly.
- Mix the cement. For GI, hand mix to a thick, almost putty-like consistency. For RMGI, follow the manufacturer's dispensing and mixing directions.
- Load the crown. Fill it with cement; for molars, roughly two thirds full is usually enough. Overfilling increases hydraulic resistance and cleanup.
- Seat fully. Orient the crown, seat it along the path of insertion with steady pressure (on the occlusal surface for molars) and confirm the incisal edge or marginal ridges line up with the neighbors.
- Hold it in place until the cement reaches its initial set, per the manufacturer's time. Do not let the patient bite the crown into place.
- Remove excess. With a thick GI mix, excess can come off with an explorer almost as soon as the crown is fully seated. With a runnier mix, wait a minute or two. For RMGI, remove excess at the gel or tack-cure stage.
- Floss the contacts to clear cement from the proximal spaces, and check the lingual and sulcus.
- Check occlusion with articulating paper, and take a post-operative radiograph on molars to confirm seating and clear the margins of excess cement.
Anterior and posterior differences
The sequence is the same, but a few details differ by position.
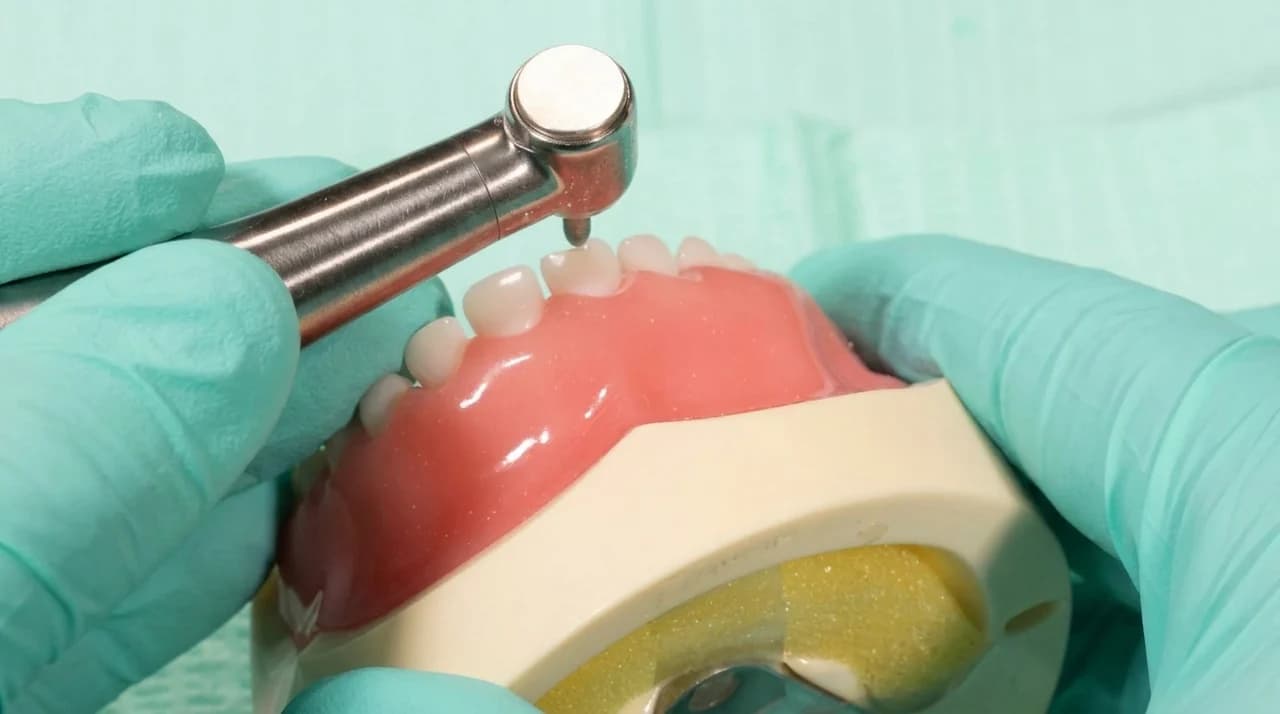
- Anteriors: a thick GI mix holds the crown in position against the tongue and lips. When finished, the lingual margin should sit about 1 to 2mm under the gingiva for a natural result. The anterior prep guide shows the mix and cleanup on video.
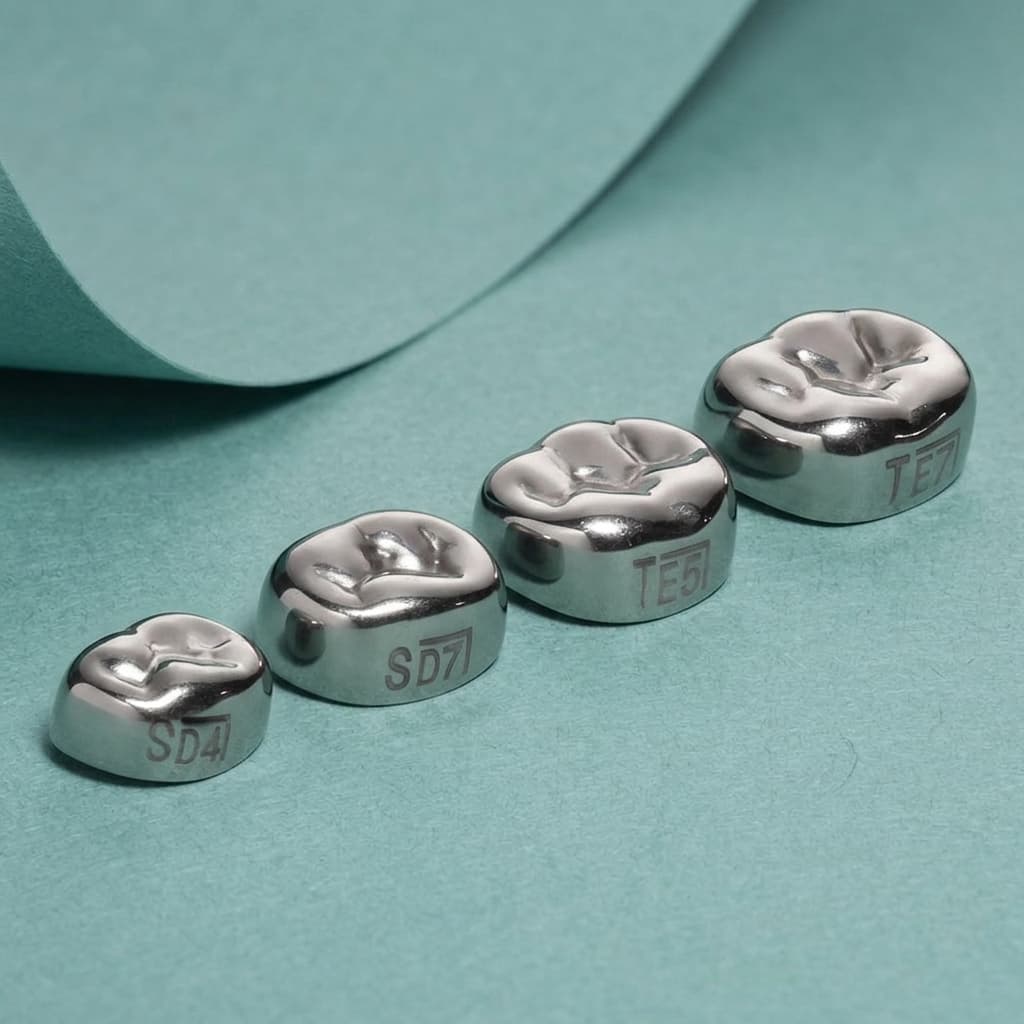
- Molars: seat with firm pressure on the occlusal surface, floss both contacts carefully, and confirm the result radiographically. See the posterior prep guide for the full molar protocol.
- Multiple adjacent crowns: try them in together first, then cement one at a time so excess from the first does not block the second.
Common cementation mistakes
- Cementing the crown used for try-in without cleaning it. Contamination inside the crown weakens the seal and can stain through. Fit with a try-in crown instead.
- Mixing too thin. A runny mix flows out before the crown is fully down, invites moisture back in, and makes cleanup messier.
- Overfilling the crown. Excess cement has to escape through the margin, which can hold the crown slightly high. Fill with enough to cover the internal surfaces, not to the brim.
- Letting the patient bite it into place. Biting can seat the crown off-axis. Seat it with your own steady pressure along the path of insertion.
- Leaving cement in the sulcus. Cleanup in the proximal spaces and on the lingual is easy to rush at the end of an appointment. Floss and look again.
After cementation
Some marginal gingival redness in the first days is expected after subgingival preparation and typically settles as the tissue heals, particularly when excess cement was fully removed. The laser-etched marking on each KTR crown makes the size and position easy to confirm on the chart and at recall.
Once you know which sizes you use most often, keep them stocked through zirconia refills, ordered individually by tooth, size and fit profile. For choosing the right size and profile in the first place, see our pediatric zirconia crown sizing guide.
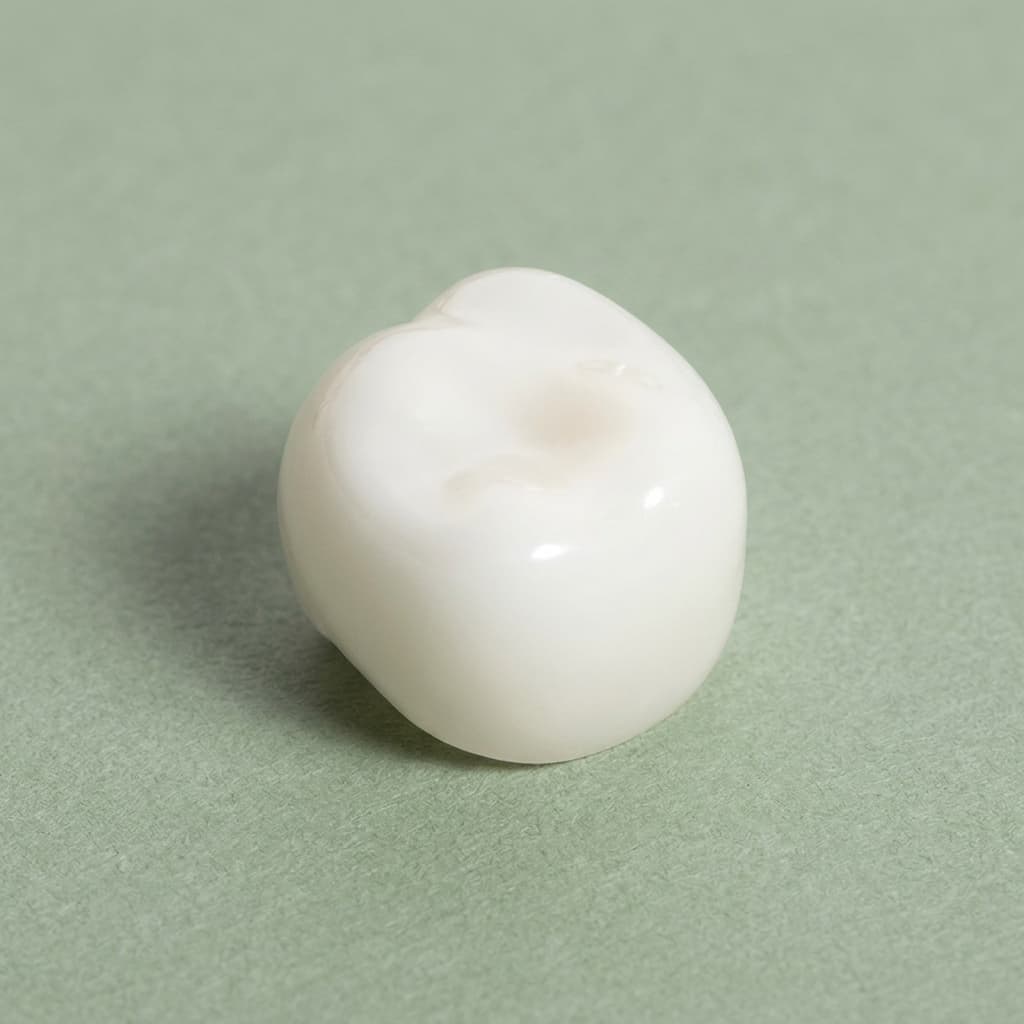
Restock by tooth and size
Zirconia Crown Refills
Frequently asked questions
What cement do you use for zirconia crowns?
Pediatric zirconia crowns are typically cemented with glass ionomer (GI) or resin-modified glass ionomer (RMGI) cement. KTR zirconia crowns are designed for both. A thick GI mix is a common choice for anteriors, and RMGI is often used on molars.
What is the cementation protocol for zirconia crowns?
Confirm passive fit with a try-in crown, achieve hemostasis, clean and dry the preparation, mix the cement, fill the crown, seat it fully with steady pressure, hold until initial set, remove excess cement, floss the contacts, and check occlusion.
Do pediatric zirconia crowns need to be bonded with resin cement?
Not as a rule. Retention comes mainly from the passive fit of a well-prepared tooth, and GI or RMGI cements are the standard choices for pediatric zirconia crowns. If you use a different cement, follow its instructions for use.
When should I remove excess cement?
With a thick, putty-like GI mix, excess can be removed almost immediately once the crown is fully seated. With a thinner mix, wait a minute or two. With RMGI, remove it at the gel or tack-cure stage. Always floss the contacts and check the sulcus.
Why does a zirconia crown look stained after cementation?
Blood or moisture trapped inside the crown during cementation can show through the zirconia. Control bleeding before seating and use a try-in crown for fitting so the final crown stays clean.
This article is general information for dental professionals. It does not replace clinical judgment, the product's instructions for use, or current AAPD guidance. Questions about a specific case? Call us at 1-800-506-5108.
Have a technique or case worth sharing?
We publish guest articles by pediatric dentists, residents and educators. Pitch an idea and write for colleagues.