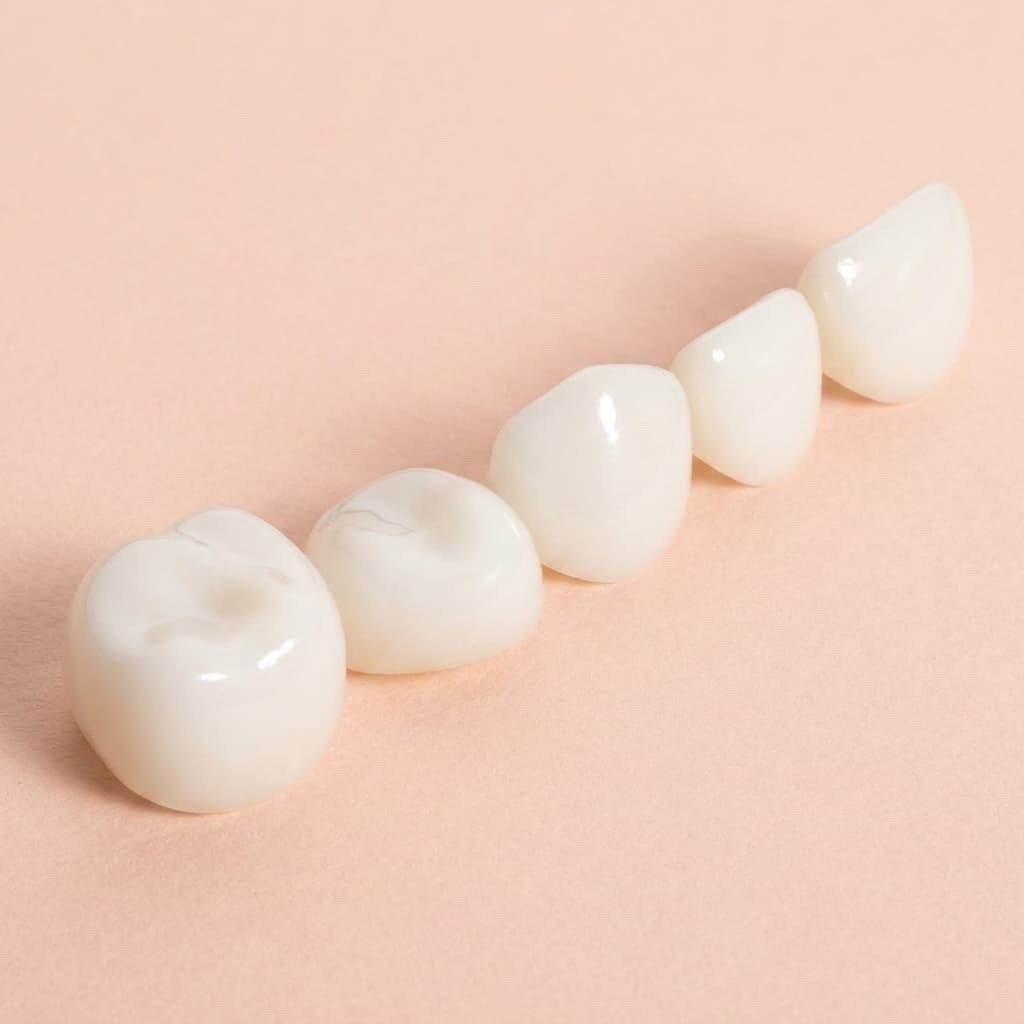


How to Crimp a Stainless Steel Crown: Trimming, Contouring and Fit
When a pediatric stainless steel crown still needs adapting, and how to trim, contour and crimp the margin in small steps for a snug, healthy fit.
By the KTR Crowns team · · 6 min read
A well-adapted margin is what separates a stainless steel crown that sits quietly until the tooth exfoliates from one that collects plaque, irritates the gingiva or washes out its cement. Pre-crimped crowns do most of that work for you, but every mouth is different, and knowing how to trim, contour and crimp quickly is still a core pediatric skill. This guide covers when adaptation is needed and how to do it without overworking the metal.
When a pre-crimped crown still needs work
KTR stainless steel crowns arrive pre-trimmed, belled and crimped, with malleable gingival margins designed to snap over the natural undercut of a primary molar. In many cases the crown seats with firm finger pressure and needs nothing more. Reach for the pliers when:
- The margin gaps. An explorer catches under the margin or you can see an open space, often where the tooth has an unusual contour or a deep proximal box.
- The crown rocks after seating, suggesting the margin is not engaging the undercut evenly.
- The crown is overextended. Gingival blanching persists rather than fading, or the crown seats too deep.
- Caries or a fracture has changed the tooth's shape so the cervical contour no longer matches the crown.
- The crown will anchor a crown-and-loop appliance, where a tight margin matters for the solder joint and the appliance.
The instruments and what each one does
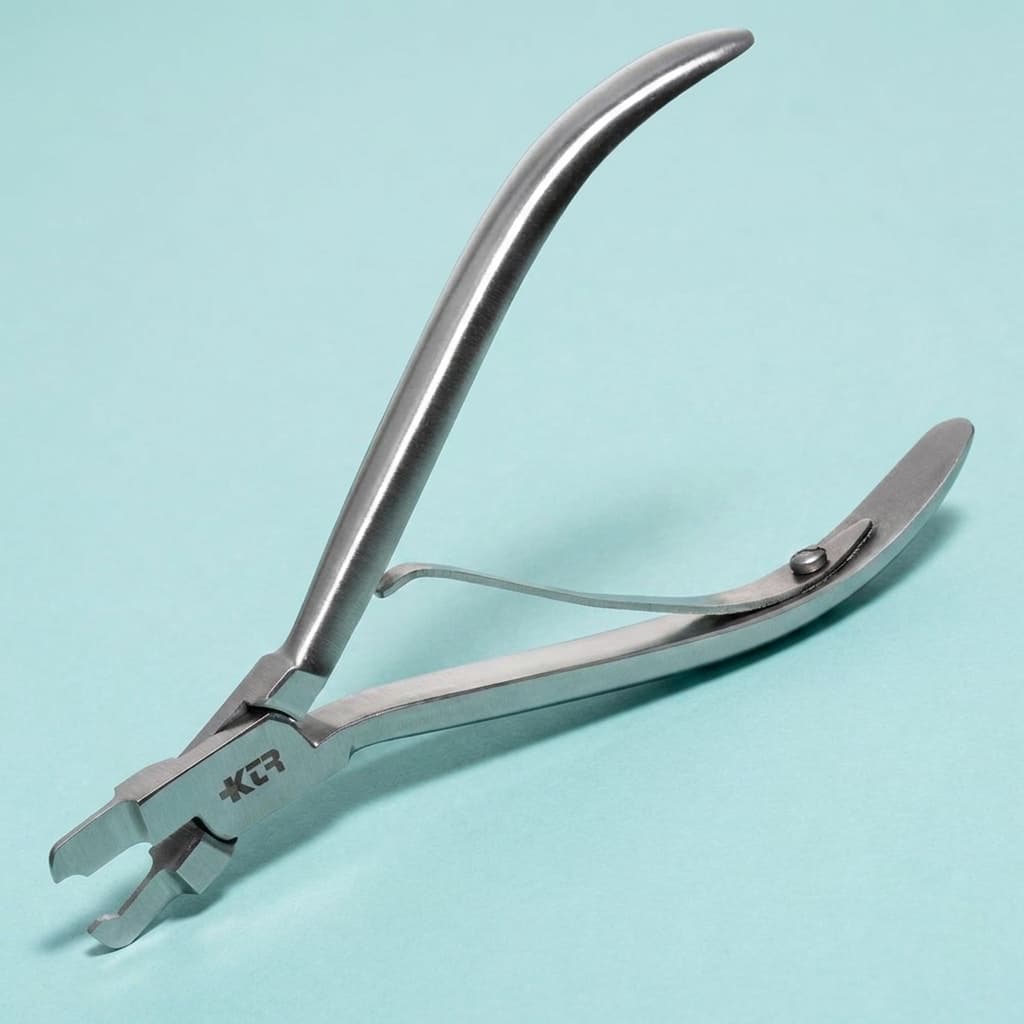
Adapting a crown is usually two jobs, done with two kinds of pliers.
| Instrument | What it does | When to use it |
|---|---|---|
| Contouring pliers (ball-and-socket style) | Bends the cervical third of the crown inward to restore the bulge and taper toward the margin | Before crimping, when the crown walls are too straight to hug the tooth |
| Crimping pliers | Turns the last millimeter of the margin inward so it closes tightly against the tooth | After contouring, to seal the margin |
| Crown and collar scissors | Trims excess height from the margin | When the crown is overextended |
| Green stone or rubber wheel | Smooths and polishes trimmed or crimped margins | After any trimming or crimping |
Crimping pliers
Crimping Pliers & Storage
Step 1: Check the length before anything else
Seat the crown and look at the gingiva. Brief blanching that fades within a few seconds is expected. Blanching that persists, or a crown that seats noticeably deeper on one side, means it is overextended there. Mark the gingival level on the crown with an explorer, remove it, and trim in small amounts with crown scissors, following the curve of the gingiva rather than cutting straight across. Aim for a margin that sits roughly a millimeter below the gingival crest.
Step 2: Contour the cervical third
If the crown walls are straight where the tooth narrows toward the CEJ, crimping alone will leave a flared, bulky margin. Contour first. Working from the inside of the crown with contouring pliers, bend the cervical third inward to recreate the natural bulge above the margin and the taper below it. Work around the crown in small overlapping movements so the change is smooth rather than faceted.
Step 3: Crimp the margin in small increments
- Hold the crown with the occlusal surface facing away from the pliers' beaks so you can see the margin.
- Place the crimping pliers on the margin and gently squeeze, turning only the last millimeter or so inward.
- Move a short distance along the margin and repeat, overlapping each bite with the last. Work all the way around the circumference.
- Pay particular attention to the buccal and lingual surfaces, where most gaps occur, and to the proximal areas if a contact was sliced.
- Try the crown in again. It should snap over the height of contour with firm, gentle pressure and resist removal.
Step 4: Verify the fit
- Explorer: run it around the margin. It should glide from crown to tooth without catching on an open edge.
- Floss: pass floss through each contact to check there is a contact and that the margin is not caught on the adjacent tooth.
- Retention: the crown should snap into place and resist lifting off with a fingernail or instrument.
- Gingiva: any blanching should fade quickly once the crown is seated.
Step 5: Smooth, polish and cement
Any cut or crimped edge needs smoothing before cementation. Run a green stone or rubber wheel along the margin at a low speed, angling it so the edge is thinned and rounded rather than blunt. Polish until the margin feels smooth to an explorer; a rough or sharp edge collects plaque and irritates the gingiva. Clean and dry the crown, cement with glass ionomer or RMGI, remove excess cement from the sulcus and contacts, and check the occlusion before the child leaves.
Common mistakes and how to fix them
| Problem | Likely cause | Fix |
|---|---|---|
| Flared, bulky margin | Crimped without contouring first | Contour the cervical third, then re-crimp |
| Pleats or kinks at the margin | Over-crimping in one spot | Smooth with the pliers, or choose a new crown if the margin is distorted |
| Persistent gingival blanching | Overextended crown | Mark, trim to the gingival curve and re-polish |
| Crown no longer seats | Margin crimped too far inward, or crown too small | Open the margin slightly or try the next size up |
| Crown lifts off easily | Margin not engaging the undercut, or trimmed too short | Re-contour and crimp; if short, select a new crown |
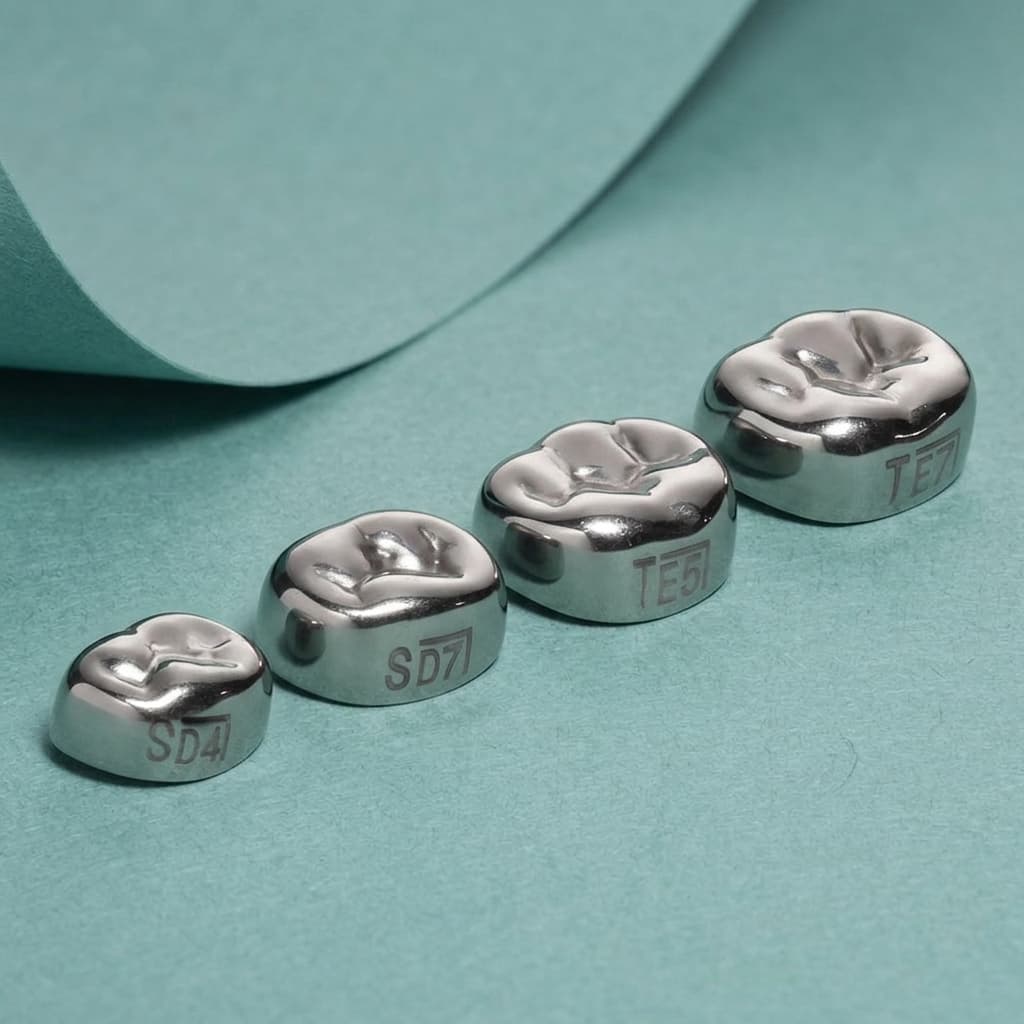
Often the fastest fix is simply the right size. If you find yourself heavily contouring a crown, try the next size down; if it rocks or will not seat, try the next size up. KTR stainless steel crowns come in 6 sizes for each primary molar position, 48 in total, each laser-etched in Universal and Palmer notation so you can switch sizes quickly. A full stainless steel assortment in the operatory keeps those options within reach. The stainless steel crown size chart lists every position and size.
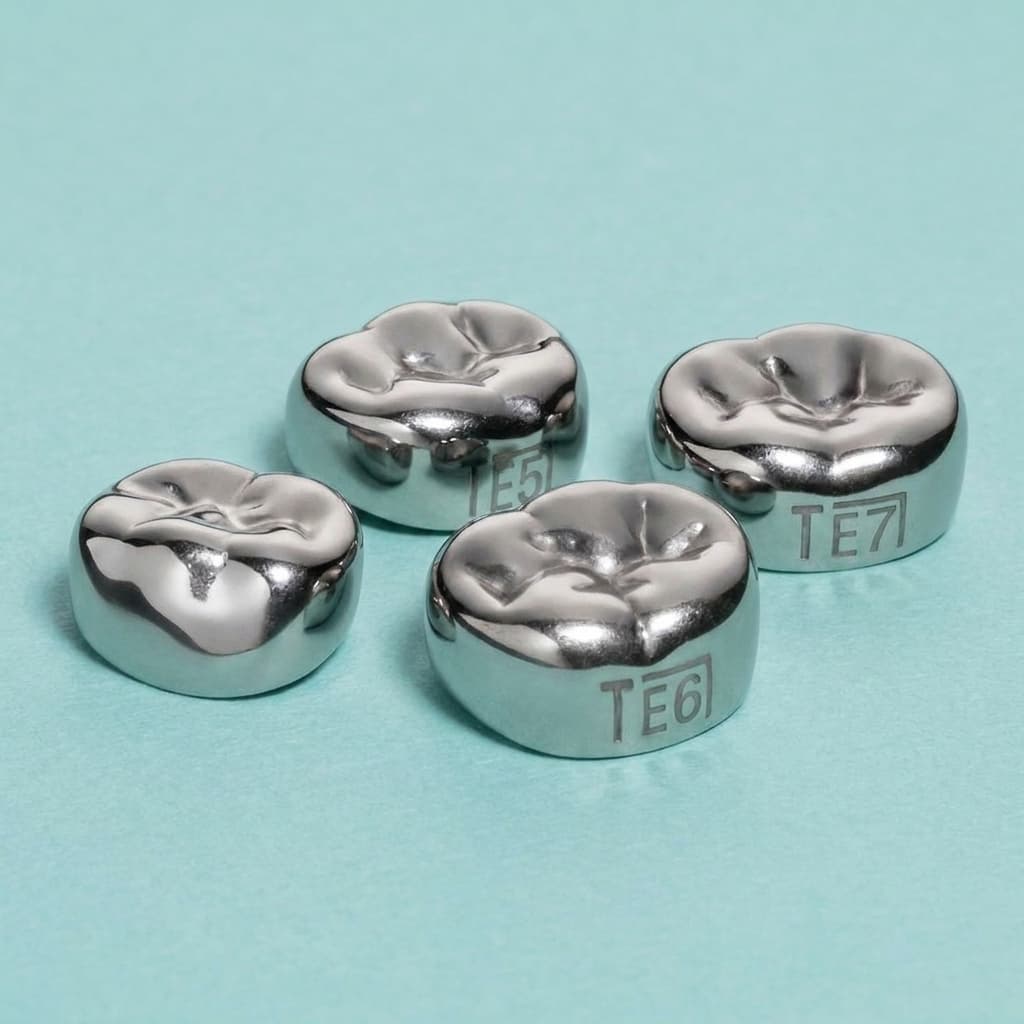
Every molar size on hand
SSCrowns Starter Kit
Not every crown needs this level of adaptation, and in the Hall technique the crown is seated as supplied. For a comparison of when to choose steel over zirconia, see zirconia vs. stainless steel crowns.
Frequently asked questions
How do you crimp a stainless steel crown?
Trim the crown to the right length first, contour the cervical third with contouring pliers if the walls are too straight, then crimp the last millimeter of the margin inward with crimping pliers, working in small overlapping bites all the way around. Try in, check the margin with an explorer and floss, then smooth and polish the edge before cementing.
Do pre-crimped stainless steel crowns need to be crimped again?
Often not. Pre-crimped crowns such as KTR's are designed to snap on with little or no adjustment. Crimp further only when the margin gaps, the crown rocks, or the tooth's shape has been changed by caries or a fracture.
What is the difference between contouring pliers and crimping pliers?
Contouring pliers shape the cervical third of the crown to recreate the bulge and taper of the tooth. Crimping pliers turn the edge of the margin inward to close it against the tooth. Contour first, then crimp.
Do dentists still use stainless steel crowns?
Yes. Stainless steel crowns remain a standard, durable restoration for primary molars with extensive caries, after pulp therapy, as space maintainer abutments and in the Hall technique. Many practices use them alongside zirconia crowns, choosing case by case.
This article is general information for dental professionals. It does not replace clinical judgment, the product's instructions for use, or current AAPD guidance. Questions about a specific case? Call us at 1-800-506-5108.
Have a technique or case worth sharing?
We publish guest articles by pediatric dentists, residents and educators. Pitch an idea and write for colleagues.